Search This Blog

Tuesday, April 29, 2014

The Perfect Competition Rib? A Primer of Sorts

What is the perfect competition rib?  Spicy?  Sweet?  Fall off the bone or should the meat still be pull off the bone?  Well, here is what the judges look for:

1.  Layers of flavor.  Teams rub their racks, spray with concoctions of apple juice and other flavors, then wrap in foil with blue bottle squeeze margarine, mounds of brown sugar and honey.  Then, finish up the racks with a thin glaze of sweet sauce.  I've been told by teams, if you think your ribs are sweet enough, make them sweeter.  I always wondered why.  I was told by the KCBS representatives that taught our judging class that sweet is better because spicy is one of the first tastes you loose as you get old.  Logical I suppose.  A perfectly sauced rack of ribs should shine with all of the added sugar.


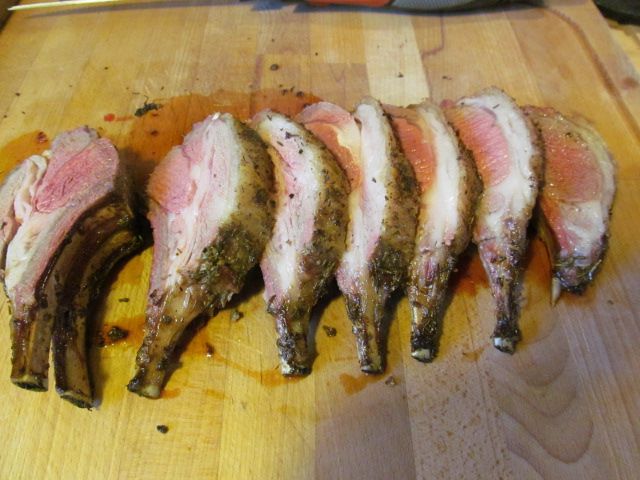
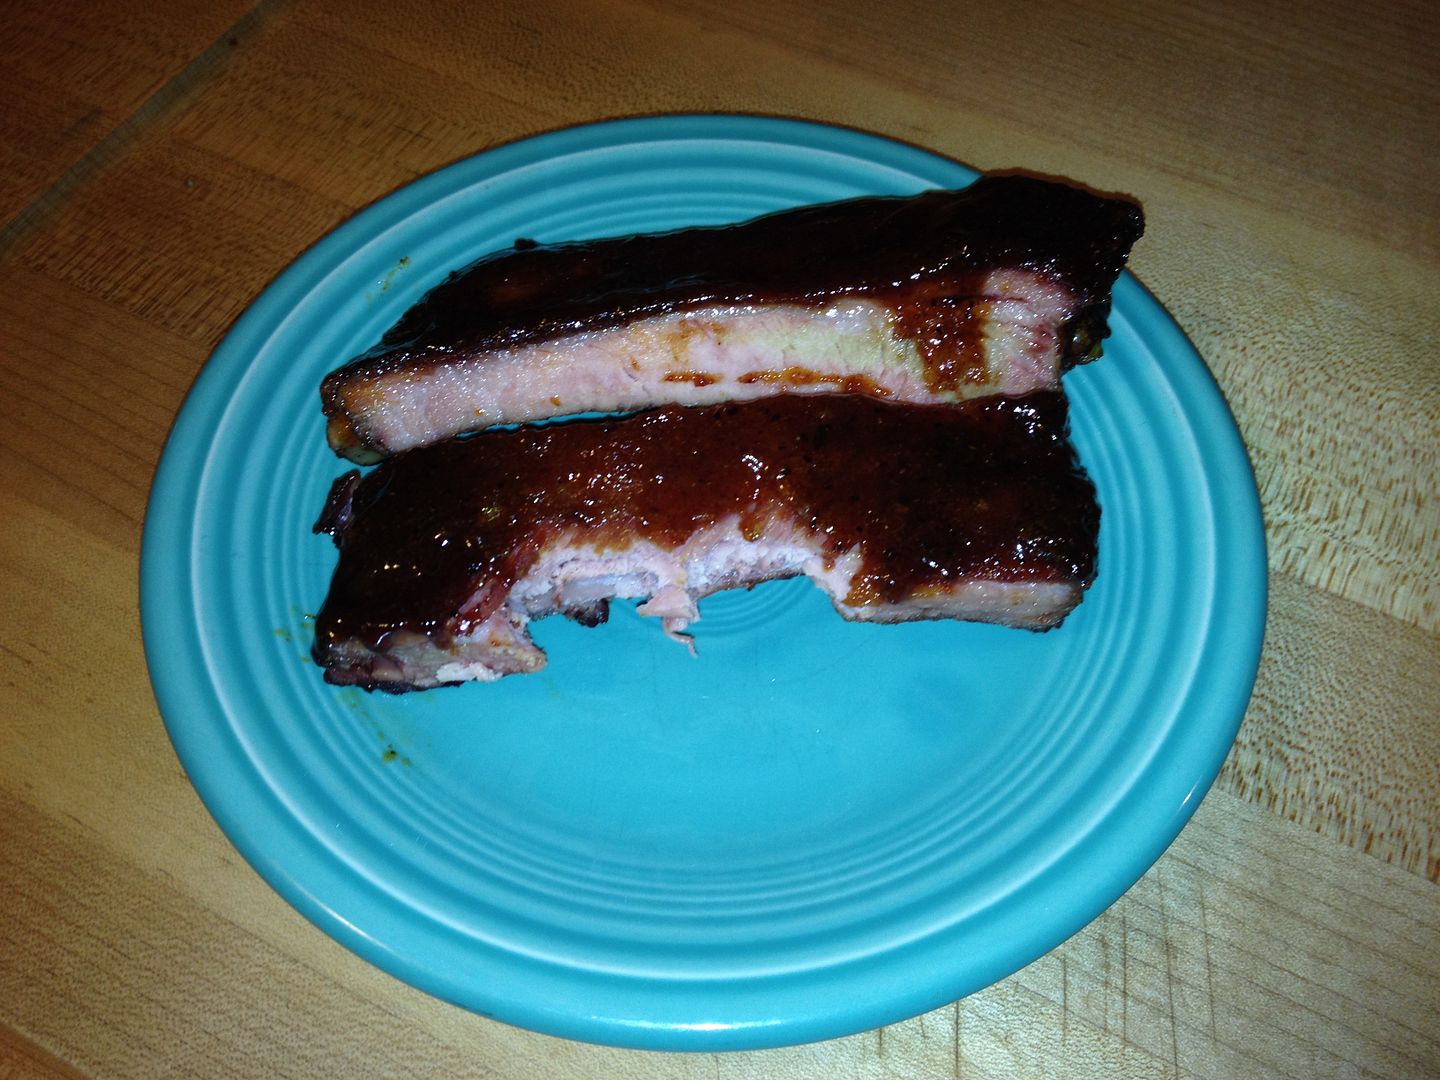
2.  Meat should not be fall off the bone, nor should it have too much tug.  The standard for judging is that you should be able to bite through the rib meat and pull away, leaving a clean bite and leaving the surrounding meat still on the bone.  The meat should release easily, but not be mushy.  Mass produced chain BBQ ribs?  You know, the kind you can strip the meat off of the bone in one swift movement?  Nope, won't work.  Here is a perfect bite.


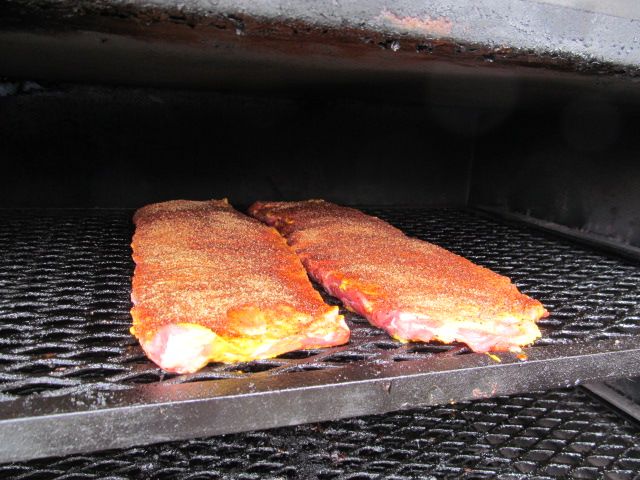
We have always had problems finding that right combination.  But, our friend over at Mad Meat Genius may have come to the rescue.  Instead of low and slow or a cook temperature around 250 F, he suggested 270 F for a cook temperature.  2 hours on the rack, 1 hour in a pan foiled.  So, we gave it a try and turned out some of the best ribs we have ever made.  We have also made a few other changes.

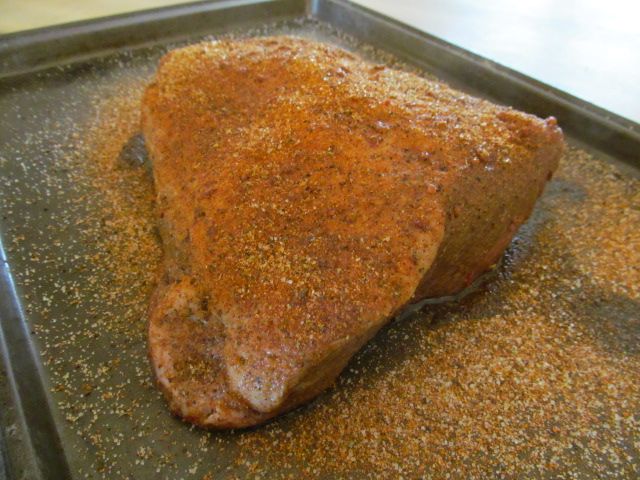
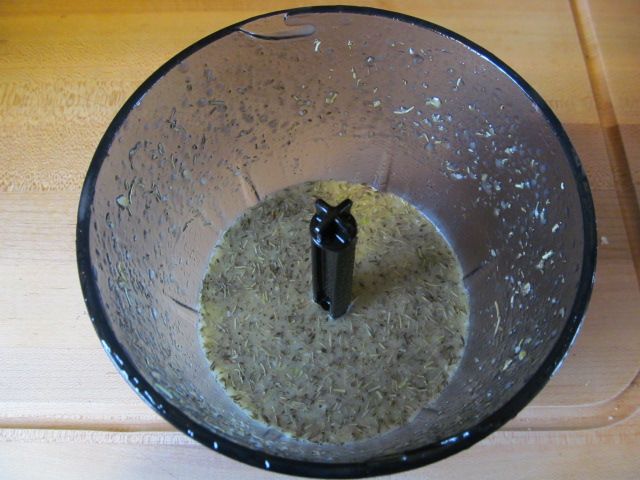
1.  Oakridge Dominator Competition Rib Rub.  Good stuff.  We always used their Secret Weapon Pork and Chicken Rub.  Good stuff, but it had a bite to it that did not seem to score well with judges.  The Dominator rub takes out that bite, but has a nice sweet and savory flavor.

2.  We are adding brown sugar now.

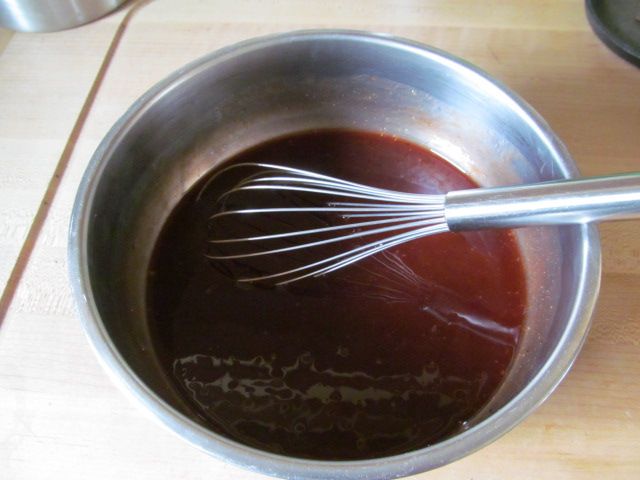
3.  We have removed the Blues Hog Tennessee Red BBQ sauce from our rib glaze.  I thought it added a nice acidic taste to our rib.  But, it may have been hindering us.

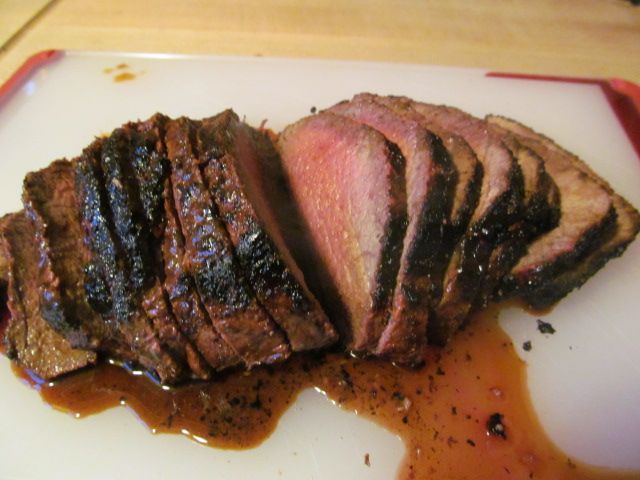
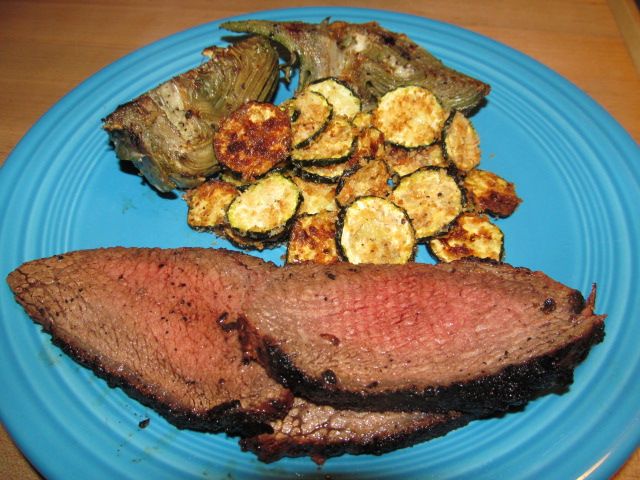
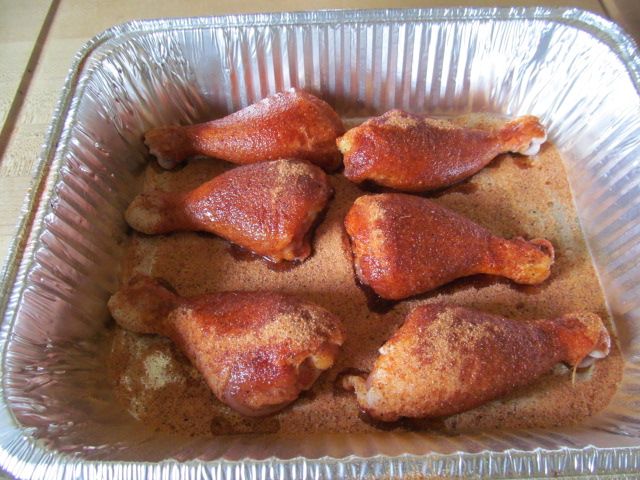
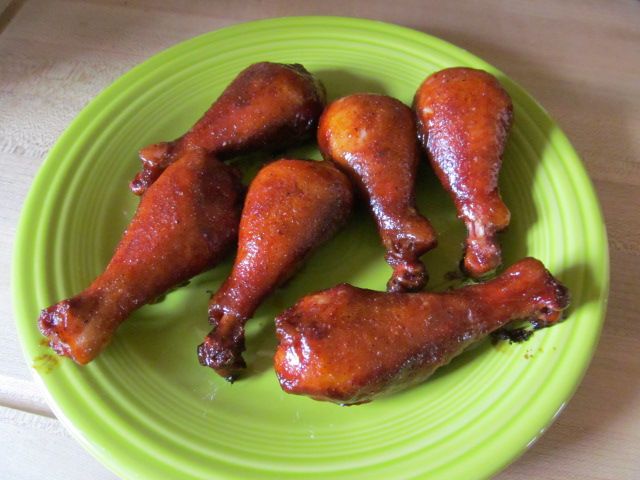
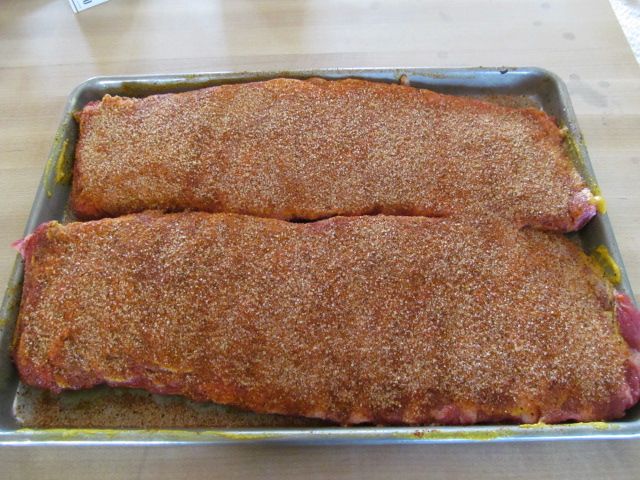
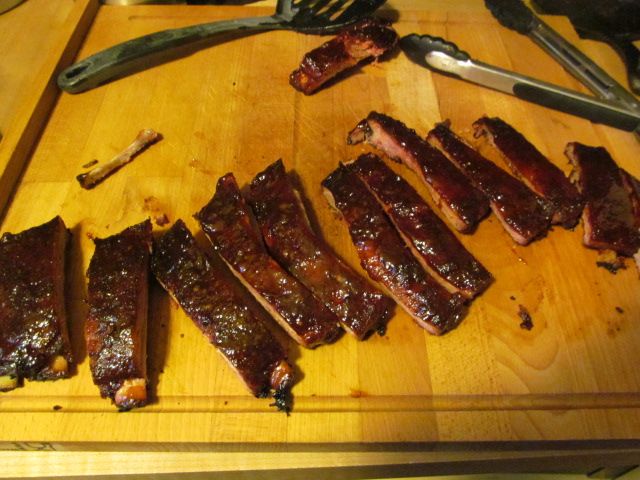
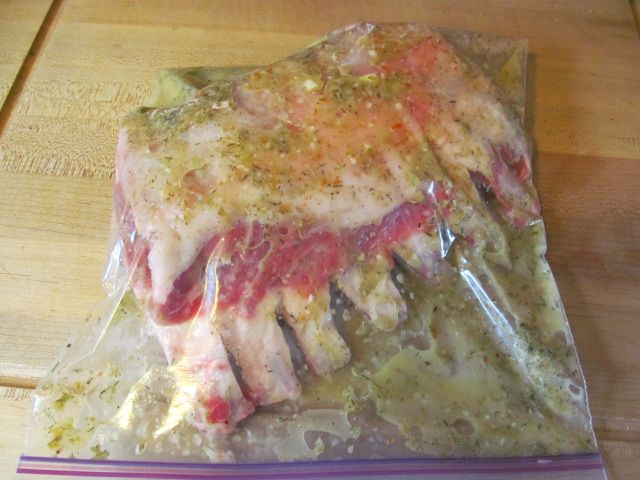
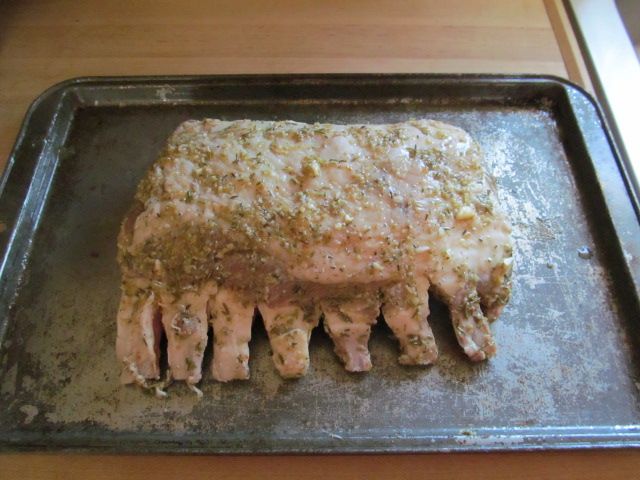
4.  Allow the rack to rest before slicing.  Then, dunk in sauce, give an application of touch up rub, and put back in the cooker for ten minutes to set the glaze.  Here are some pictures from our last practice cook.


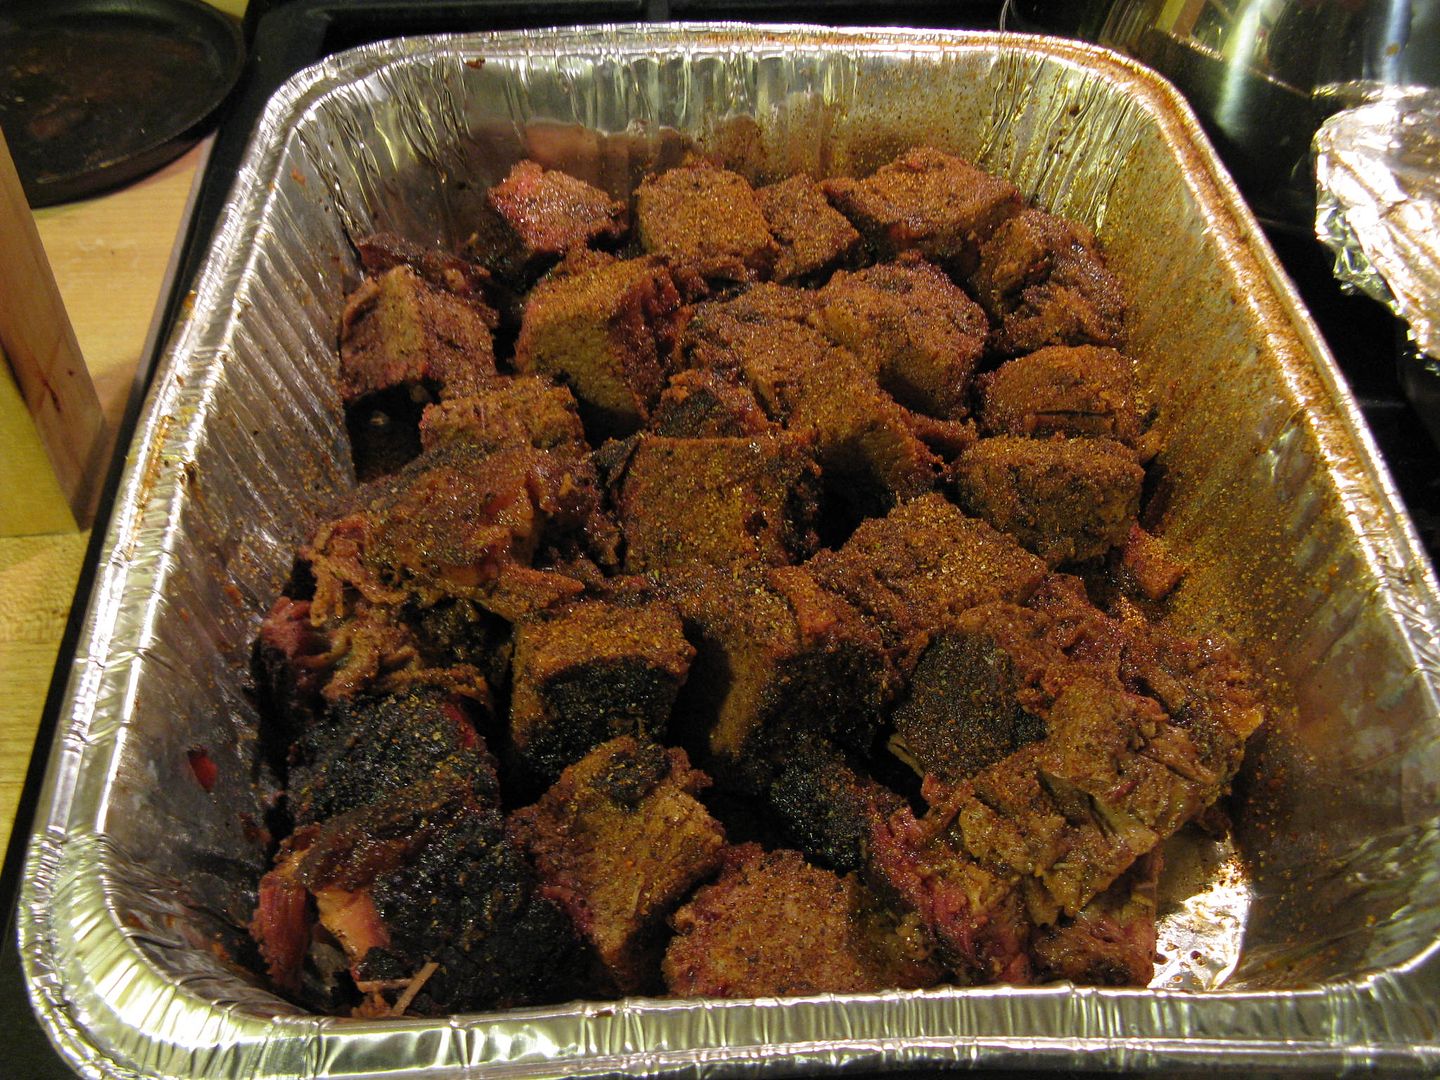
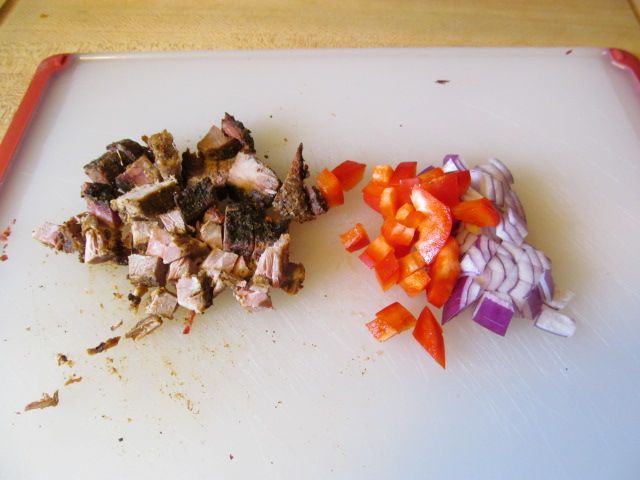
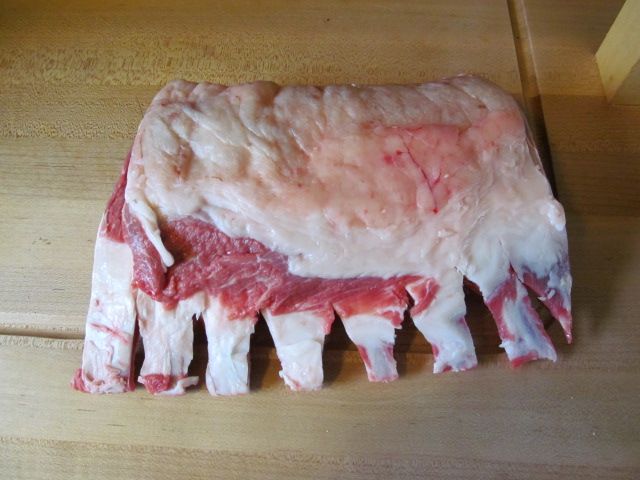
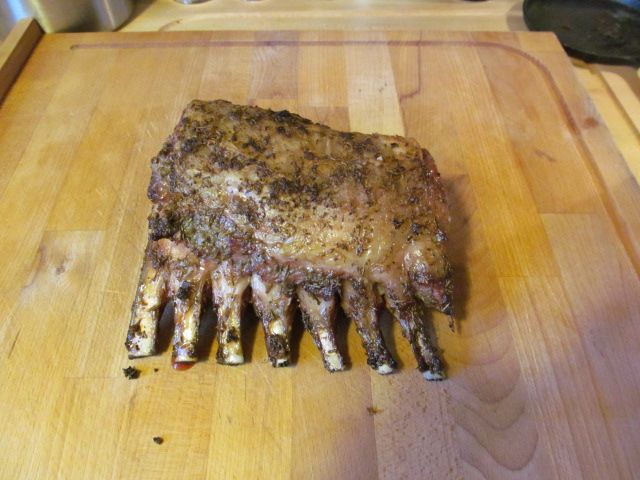
We even found some spares with straight bones.  They look pretty good if you ask me.

So, those are the changes for this year.  Hopefully the changes will help us improve our rib scores.  Maybe they won't.  But, that is my story and I am sticking with it...

Thanks for stopping by,

Bill

Saturday, April 26, 2014

Perfect Tri-Tip and Grilled Artichokes

My butcher get in some of the best looking tri-tip roasts.  We have also done well in any grilled beef competition serving our grilled tri-tip.  So, a few weeks ago, we took the opportunity to practice our tri-tip cook.  At the same time, our local grocery store had artichokes on sale, so I decided to try my hand a grilling a few.

First, I took my tri-tip and tenderized on both sides, then I placed the meat in a plastic bag with a bottle of Stubbs beef marinade.  I then placed everything in the refrigerator to get happy for a few hours.


While the tri-tip was getting happy, I started on the artichokes.  I started by cleaning them.  First I removed the outer layer of leaves from the bottom and rinsed well.  Then, I cut the artichoke into quarters, leaving the stem intact.  


I placed the artichokes in simmering water and let them simmer for 15 minutes.  Then, I removed them from the water, and cleaned them further by removing the hairy part where the leaves meet the stem.  The is the "choke" part, just above the heart.  Once this was complete, we were ready to roll.  

I seasoned my tri-tip with some Oakridge Black Ops Rub and allowed the meat to come to room temperature by sitting out for an hour.


To the artichokes, I added olive oil, salt, pepper, and fresh ground Parmesan cheese.  When you add the oil and cheese, be sure to work the mixture down into and under the leaves for maximum flavor distribution.  


I fired the grill up and made a nice bed of coals.  I placed my tri-tip over the coals on direct heat and we were off to the races..  Once the tri-tip hit 135 F internal, I brought the meat inside to rest under some foil for 10 minutes and took the artichokes outside to grill.  

I placed the artichokes on direct heat for five minutes a side.  You only want to grill them long enough to warm them up, put some grill marks on them, and to brown the Parmesan a little.  


When done, I brought them inside and sliced the tri-tip.  


Perfect medium rare!

We served this tri-tip with the grilled artichokes and some oven roasted crispy Parmesan zucchini chips. 


Good stuff.  Hope liked the artichokes, so we can have them again.  The tri-tip was flavorful, juicy, and tender as always.  The zucchini chips were good as well.  We like these better than fried.  Just a touch of olive oil, salt, pepper, panko bread crumbs and grated Parmesan.  In the oven at 450 F for 20 minutes.  They are sweet, crunchy, and not drenched in frying oil.  They are actually good for you.

Thanks for stopping by,

Bill

Tuesday, April 22, 2014

Brisket Burnt Ends: A Canvas for a Hearty Omelette

We are always looking for new and creative ways to deal with leftover BBQ.  This weekend, after our last practice cook for the upcoming competition season, we had a decent amount of burnt ends left over.  So, I was wondering, what can I do with these?  While they are tasty eats the next day, I was looking for something different.  After scouring the refrigerator for ideas, the contents of the frig spoke to me.  Omelettes...

For those of you who don't know what a burnt end is, let me tell you.  A burnt end is the fatty end of the brisket (the point).  Once the brisket is cooked, the point is removed from the flat and cubed into 1/4" pieces.  The cubes are seasoned with more rub, then either BBQ sauce or the au jus from your brisket cook is added to the cubes in a pan.  Once mixed up, the pan is placed back into your smoker for another 15-30 minutes so that the rub and sauce/au jus can set and make a nice, crispy bark.   They are the best part of the brisket in my opinion.


To start, I cubed some burnt ends, along with some red onion and sweet red pepper.  As an afterthought, I added one fingerling potato, finely diced.


I place the above into a sauté pan with just enough olive oil to prevent sticking and to promote caramelization of the pepper and onion.  I sautéed on low for about 10 minutes, stirring occasionally, until I had the level of caramelization I desired.


I removed from the heat and added one tablespoon of Blue Hog Tennessee Red BBQ sauce for a bit of tangy flavor.  Then, I set aside.


Next, I whisked two eggs and seasoned with salt and pepper.


Add your beaten egg to a heated pan that has been sprayed with cooking spray.  Once the egg starts to firm up, add your burnt end filling and top with the cheese of your choice.  Flip your omelette over in half, then flip the half over to finish cooking the other side.

I served with sriracha sauce on half of my omelette for a little spice.


Breakfast for dinner is the best.  This was outstanding.  The burnt ends mingled nicely with the caramelized onion and pepper.  The Blues Hog added the right amount of acid as a counterbalance to the fat in the beef.  Finally, the potato added just the right amount of crunch.  I would highly recommend that if you have some leftover burnt ends in your future to give this a try.

Thanks for stopping by,

Bill

Saturday, April 19, 2014

Brining is a Verb: Dialing in our Competition Chicken

Over the years, our chicken entries have been pretty good.  Nothing less than a 20th place with a few trophies over the last two years.  We have made some tweaks here and there, but the basic recipe says the same.  This year, we are getting away from our homemade brine and going with the Game Changer Brine from Oakridge BBQ.  It smells a lot like my brine.  If anything though, it is just easier to make since I just dump it in water, boil, chill, and it is ready to use.  But, I started thinking, do I have to use water as my brine base?  Why not a liquid that has flavor.  So, I thought, I am cooking chicken, so why not use chicken broth.  Off to the R&D labs we went...

I made a batch of the brine following the directions on the back.  All I did was substitute chicken broth for water.  Brought it to a boil, chilled it down, and brined my chicken.


After one hour of brine time, I removed the chicken from the brine and rinsed with cold water.  Then, I rubbed both sides of the legs with Butchers Honey BBQ Rub.


I whipped up a batch of sauce while I waited.


After letting the legs sit for about an hour, I placed them on the smoker at 275 F.  Then, I followed our process to the letter:

After 30 minutes, dunk in sauce, place legs in pan skin side down.  Place a pat of butter on the top of each leg.  Place back in smoker.

After 30 more minutes, dunk again in sauce, place legs on the rack, skin side up, and apply a light coat of rub.

After 30 more minutes, 90 minutes total cook time, remove from smoker.  Enjoy with beverage of choice.


I gotta say, I like the chicken broth as my brine base.  The legs had a deep chicken favor, as well as being very moist, tender, and juicy.  I am glad we tried this out before the season.  Now, the big question, will the judges approve?  We will find out.

Thanks for stopping by,

Bill

Tuesday, April 15, 2014

A New Twist on a Burger

While I look outside the window today to gray skies, howling wind, and snow, it is hard to believe that it was sunny and in the 80's over the weekend.  But, Mother Nature is fickle in Western Pennsylvania in the springtime.  But, I made the most of the nice weather and grilled up some burgers.

These were burgers with a twist though.  Nothing over the top, but different none the less.  We usually go for a plain burger around here.  Maybe the occasional onion soup mix burger.  But, I decided to add some of our brisket rub to the mix this time around.  So, to one pound of ground round, I added one tablespoon of Oakridge Black Ops Brisket rub.

So, burger in the bowl with the rub.  Mix well, but not too much so that you end up with a grainy burger after cooking.


1/4 pound portions in my magical burger press.


Back in the fridge to firm up.  Go outside to fabulous weather to fire up the grill.


Red hot grill, then toss the burgers on and go inside to get my cheese.  Oh, by the way, do you think they like cheese?


Flipped the burgers after about three minutes, then added the cheese and closed the lid.


Three minutes later.  Perfect medium!


Add thin sliced sweet onion and tomato, dill chips, a thin schmear of mayo and a dollop of Heinz Balsamic Vinegar ketchup.  Served with a cold IPA and I was in heaven.


The brisket rub really kicked this up a notch.  You could make these burgers with any beef rub that you like.  I suggest you give it a try.

Thanks for stopping by,

Bill

Saturday, April 12, 2014

Still Looking for that Perfect Rib

If you have been reading this blog, you know that we have had issues with our rib scores over the years.  Our baseline experiment to improve those scores was to cook for six hours, without any foil, to see how tender the meat on the bone was.  I was close, but not 100% there.  So for this cook, I cooked ribs, unfoiled, for seven hours at a lower heat of 225 F to see how they turned out.  Here is what we found.

First, we took some St. Louis spares, rubbed both sides with mustard, and sprinkled our rub/sugar mix liberally on both sides of the rack.  Then, I let them come to room temperature on the counter while I brought the smoker to a temperature of 225 F.


Once the smoker reached 225 F, I placed both racks on the top shelf in the middle.  For smoke flavor, I placed a mixture of apple, hickory, and pecan into the ash pan. Then I shut the door and walked away.  After three hours or so, I rotated the racks left to right for even cooking.  Does it really help?  Who knows, but it makes me feel useful during the down time.


At the six hour mark, I brushed on a thin layer of my BBQ sauce.  Then, after 30 minutes, I touched up my sauce with another thin application.  At the seven hour mark I brought the racks inside to rest for 15 minutes before slicing.


Look at that shiny glaze?  Almost too beautiful to slice.  Well, taste is a component, so we sliced and dug in to try.


As you can see, more often than not I seem to get my ribs from pigs with bad posture or curvature of the spine.  Very bad for a turn in box.  As for the tenderness, I would say that after seven hours, these bones were just a bit over done.  They were right on the line of being fall off the bone.  So, I would have to say that after six and a half hours at 225 F on a smoker, you will produce a rib that is acceptable to a KCBS judge for tenderness.  Stay tuned for another method that just might be better.

Thanks for stopping by,

Bill

Wednesday, April 9, 2014

Smoked Rack of Lamb with a Dirty Martini Marinade

One of the highlights of our "Too Cute to Eat" extravaganza while Hope was away was a beautiful rack of lamb that I picked up at Dave's Country Meats.  Dave's lamb is outstanding and locally sourced.  The perfect canvas to try out an outside the box marinade.


Dirty Martini Marinade

1/2 cup of vodka
1/4 cup olive oil
1/4 cup of brine from the olive jar
1/4 cup of olives
4 cloves of garlic, skin removed
1 tsp of rubbed thyme
1 tsp of rosemary
1/2 tsp of lemon zest
Juice of a lemon

I put off of this in my stick blender food processor attachment and blended until combined.


The marinade went into a plastic bag with the rack of lamb, then into the refrigerator for 24 hours of happy time.


The next day, I brought my smoker to 375 F.  While the smoker was coming to temperature, I removed the lamb from the plastic bag and let it sit on the counter to come to room temperature.  I was going to re-season with more spice, but I made an executive decision and decided to use the spice from the marinade instead and pressed it onto the meat as a paste.  The smell was outstanding.  I could not wait on the finished product.


I placed some pecan wood in the ash pan of the smoker.  Once I started seeing that thin, blue smoke from the stack, I put my rack of lamb on the top rack of the smoker and walked away.

I started checking the internal temperature of the lamb after 30 minutes.  I was shooting for a nice rare, about 135 F.  After 45 minutes, I was at 137 F for an internal temperature.  So, I removed from the smoker, wrapped in foil, and let rest for 15 minutes.


Then, I sliced.


Oh yeah...  Crispy on the outside.  Perfect rare on the inside.  The flavor was outstanding.  Not a hint of vodka.  The meat was juicy, tender, and none of that slightly gamey taste you can get with lamb.  The spices melded perfectly with the meat.  My only mistake was not trimming up the fat cap.  It was a bit too thick.  I will trim it up the next time.

I served with some crispy roast potatoes and flash sautéed asparagus.


I think this marinade would pair well with pork and maybe even beef.  I'll give it a try and let you know.

Thanks for stopping by,

Bill

Saturday, April 5, 2014

Get that Pizza out of the Oven and onto the Grill

Yesterday was a pretty nice day around here.  Sun peeking through the clouds and occasional spring showers.  The most important thing about the day was that it was in the 60's.  All day at work I was thinking about what I could cook on the grill.  I was also in the need of some pizza.  So, I decided to combine the two and grill some pizza.  So, on the way home, I picked up some stem tomatoes and odds and ends from the olive bar and ran home to prepare my creation.

First, Hope made a batch of our pizza dough in the bread machine:

Pizza Dough

3 1/4 cups AP flour
1 tbsp yeast
1/4 tsp sugar
1 tsp salt
2 tbsp olive oil
1 1/4 cups warm water

Put it all in a bread machine, yeast on the bottom,  and let it sit through one raise cycle.  Then pull out of the bread maker and cover with a clean towel for 15 minutes.

When handling the dough, spray your hands with cooking spray.  You'll thank me later...

While the dough was rising, I took four cloves of garlic and crushed them up into some olive oil.  I also added salt, pepper, thyme, oregano, and basil.  I would use this as the white garlic base for my pizza.


Then, I diced up my olives and marinaded mushrooms, sliced my tomatoes, and thinly sliced my fresh mozzarella ball as well.  Once the dough was done it was time to get cooking.  

I spread my chimney of lit briquettes off to one side of the grill and slid my cooking grates into place.  Then, I put my baking stone on the bottom grate away from the coals.  If you use a baking stone on your grill, place it on while the grill is heating up.  If you put a cold stone on a hot grill you are prone to cracking it and that is not good.  Once everything was nice and hot, I brought my pizza skin outside and placed it on the stone.


After about two minutes on the stone, the crust was rigid enough to slide onto the grate above the coals.  


Be sure to pop the bubbles on your dough as it cooks.  It will promote a nice, flat, crispy crust.  After five minutes on direct heat, I removed from the grill and brought inside to add my toppings.  I flipped the crust over so the topping would be placed on the browned side.  Just a quick note here.  Five minutes on direct heat would normally scorch a pizza crust.  But, I am trying to get rid of some coconut shell charcoal.  The bag says it burns hotter and cleaner.  Guess what?  It is not true.  Once I get back to my normal Stubbs briquette, I will report back with proper cook times.  


I brushed my crust with the olive oil/spice mix, then topped with thinly sliced fresh mozzarella, tomatoes sliced razor thin, and my diced olives and tomatoes.


Then, I took my pizza masterpiece to the grill and placed on direct heat.  


That is Hope's pizza on the right.  She topped hers with the olive oil, tomato, mozzarella, and thinly sliced Eye of Round.

Once on the grill, I closed the lid.  After five minutes, I came back and rearranged the pizzas so either did not spend too much time on direct heat.  Then, I closed the lid and came back after five more minutes, pulled the pizzas, and brought them inside for slicing.


I topped mine with some fresh grated Parmesan cheese and pepper flakes.


The crust was outstanding.  Thin, crisp, with a bit of char.  Not too much different from a oven baked pie.  Yet, it was different in subtle flavors and textures that you can't get from a baking sheet in the oven.  I can't wait until it warms up and we can get fresh veggies to use for future pizza nights.  We will be making this again.

Thanks for stopping by,

Bill