Search This Blog

Tuesday, February 25, 2014

Brisket: The Hot and Fast Method

Usually when we smoke our briskets, I cook at 250 F until the brisket reaches 175 F internal temperature.  Then, I place in a pan with my reserved injection, cover with foil, then cook until 195 F, or until my temperature probe slides into the meat like butter.  But, in the never ending quest for six perfect slices of brisket for our turn in box, we have been trying different methods.

There are two different methods: Hot and Fast and Low and Slow.  Today, we will focus on the Hot and Fast method.  Unfortunately, I decided to experiment on short notice as I needed to take a dish in to work for our holiday pot luck.  So, the only brisket I could pick up at the grocery store was a 2.6 lb flat.  Here are my cooking notes:

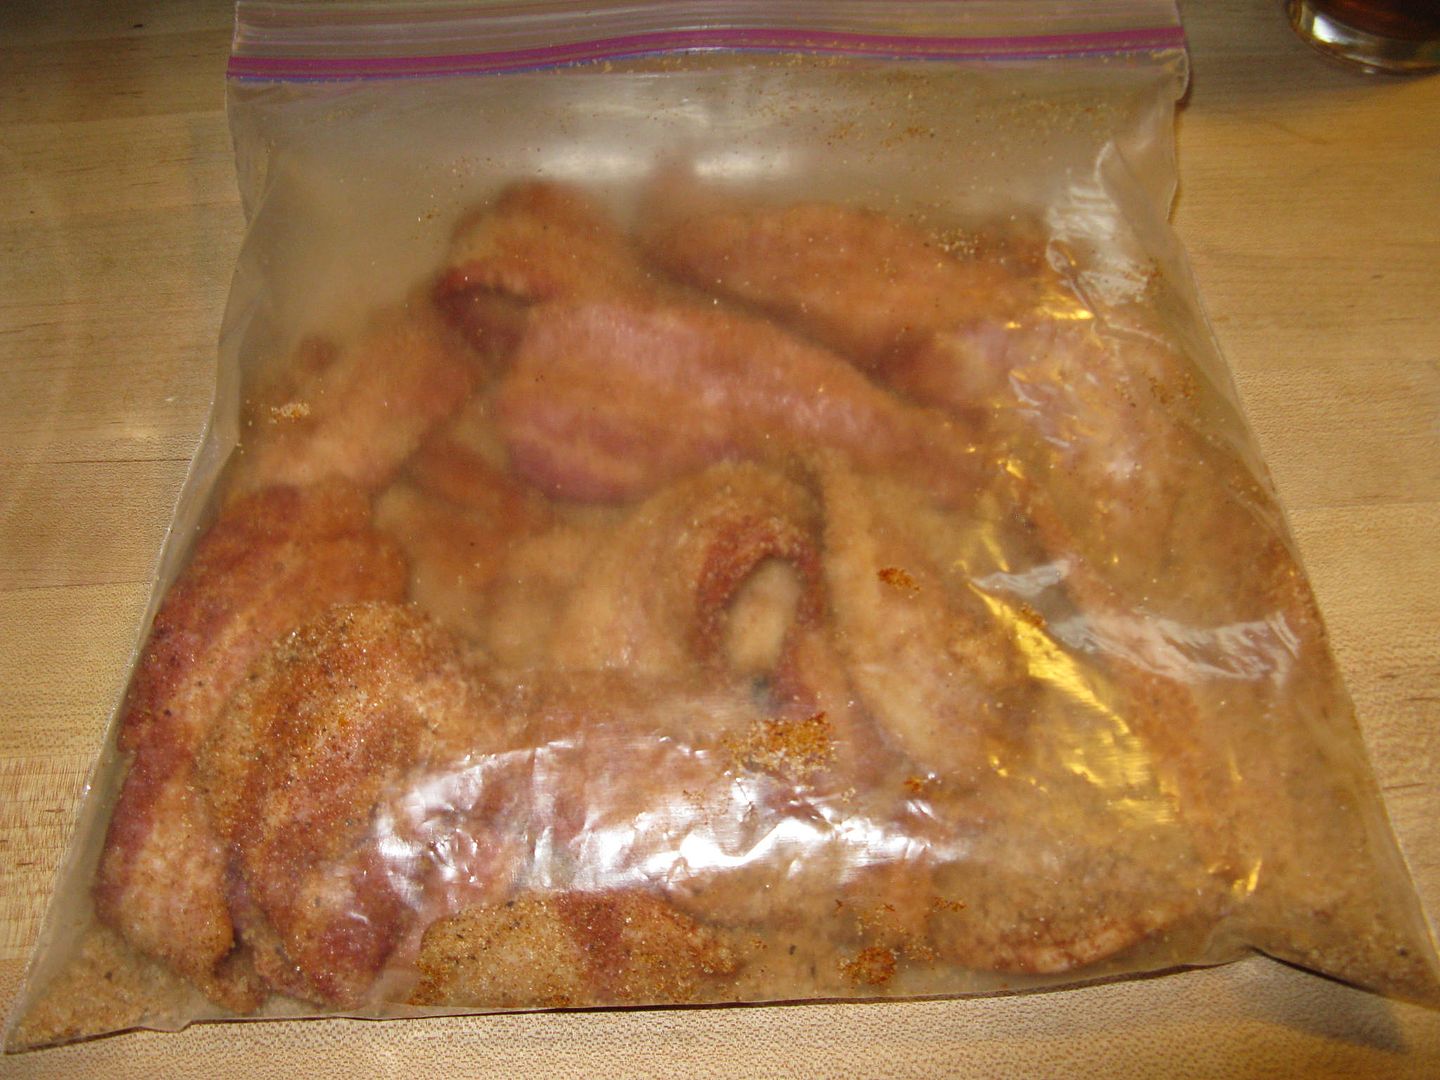
Inject and rub with Oakridge Black Ops brisket rub.  Let sit for two hours.  Here was my injection recipe:

2 cans of beef stock
1 bottle of Stubbs beef marinade, strained to remove the large spices that will clog your injector
3 tbsp of butter
1 tbsp of Mesquite Liquid Smoke
1 tbsp Sriracha sauce

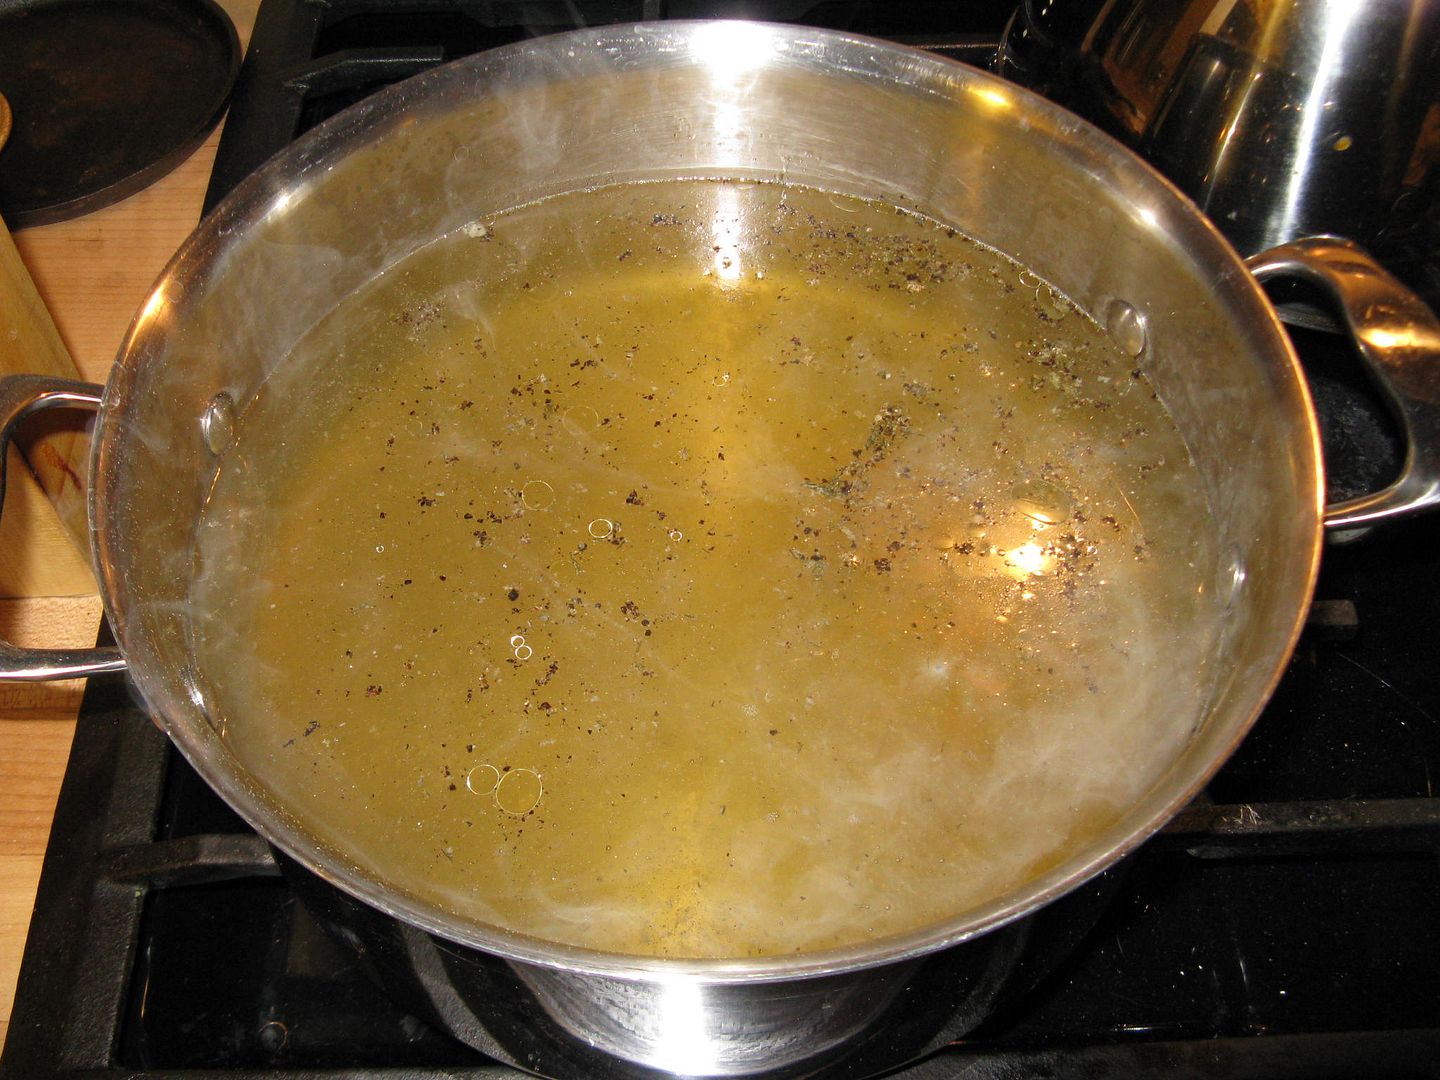
Bring the above to a boil, then chill to 40 F so that you can inject the brisket safely.


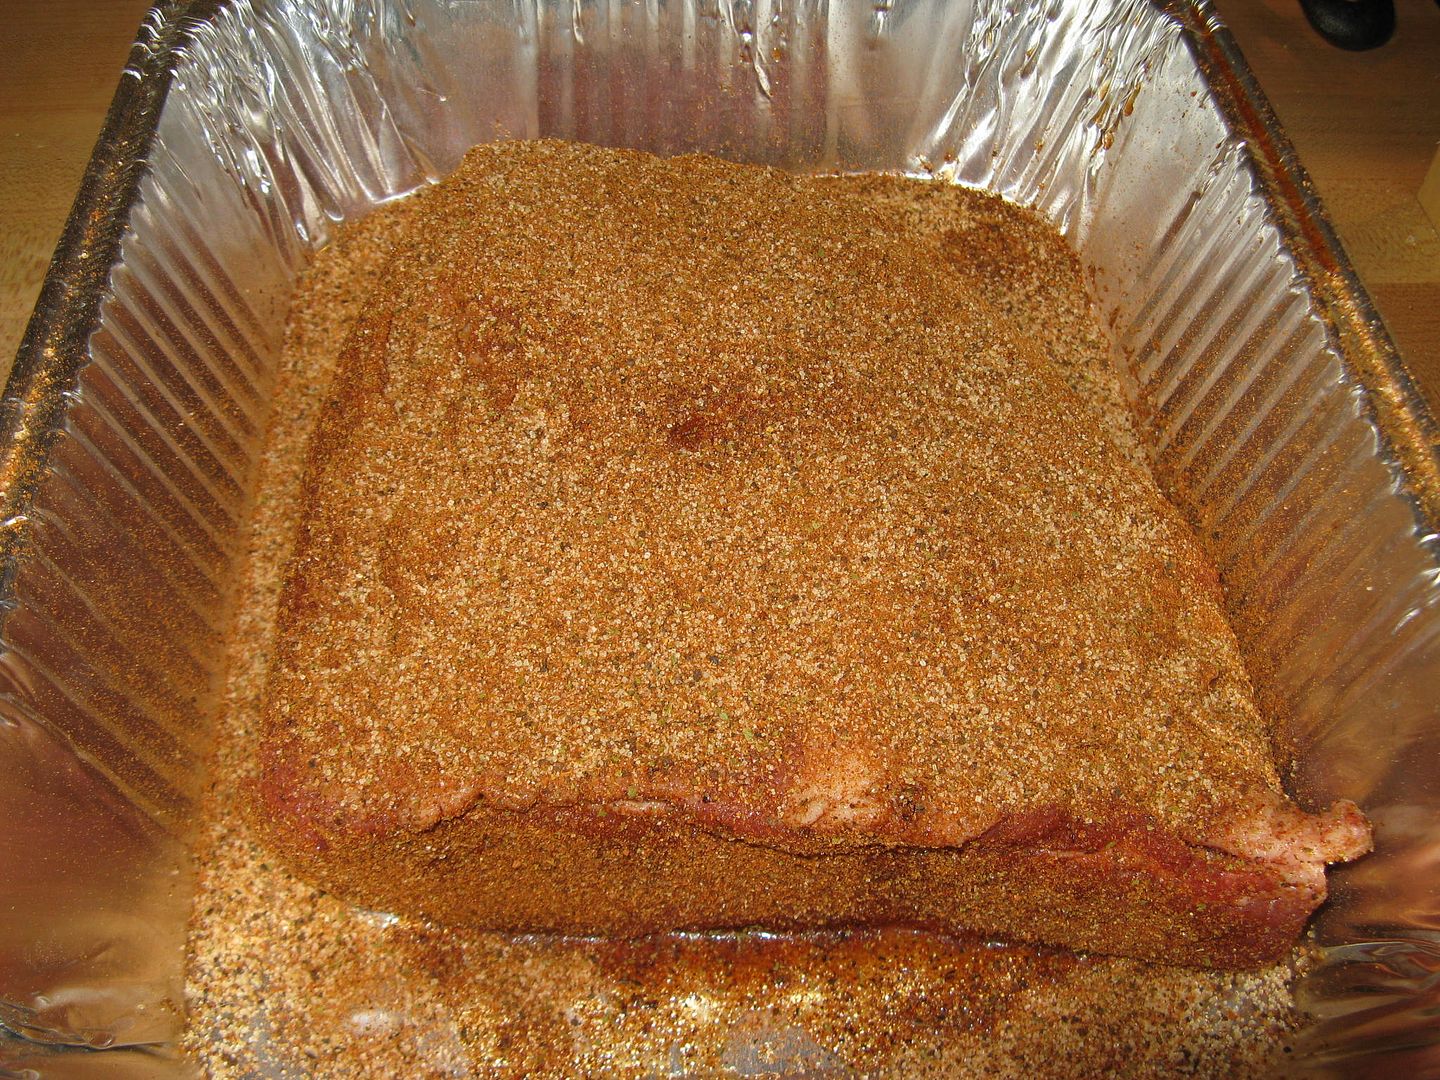
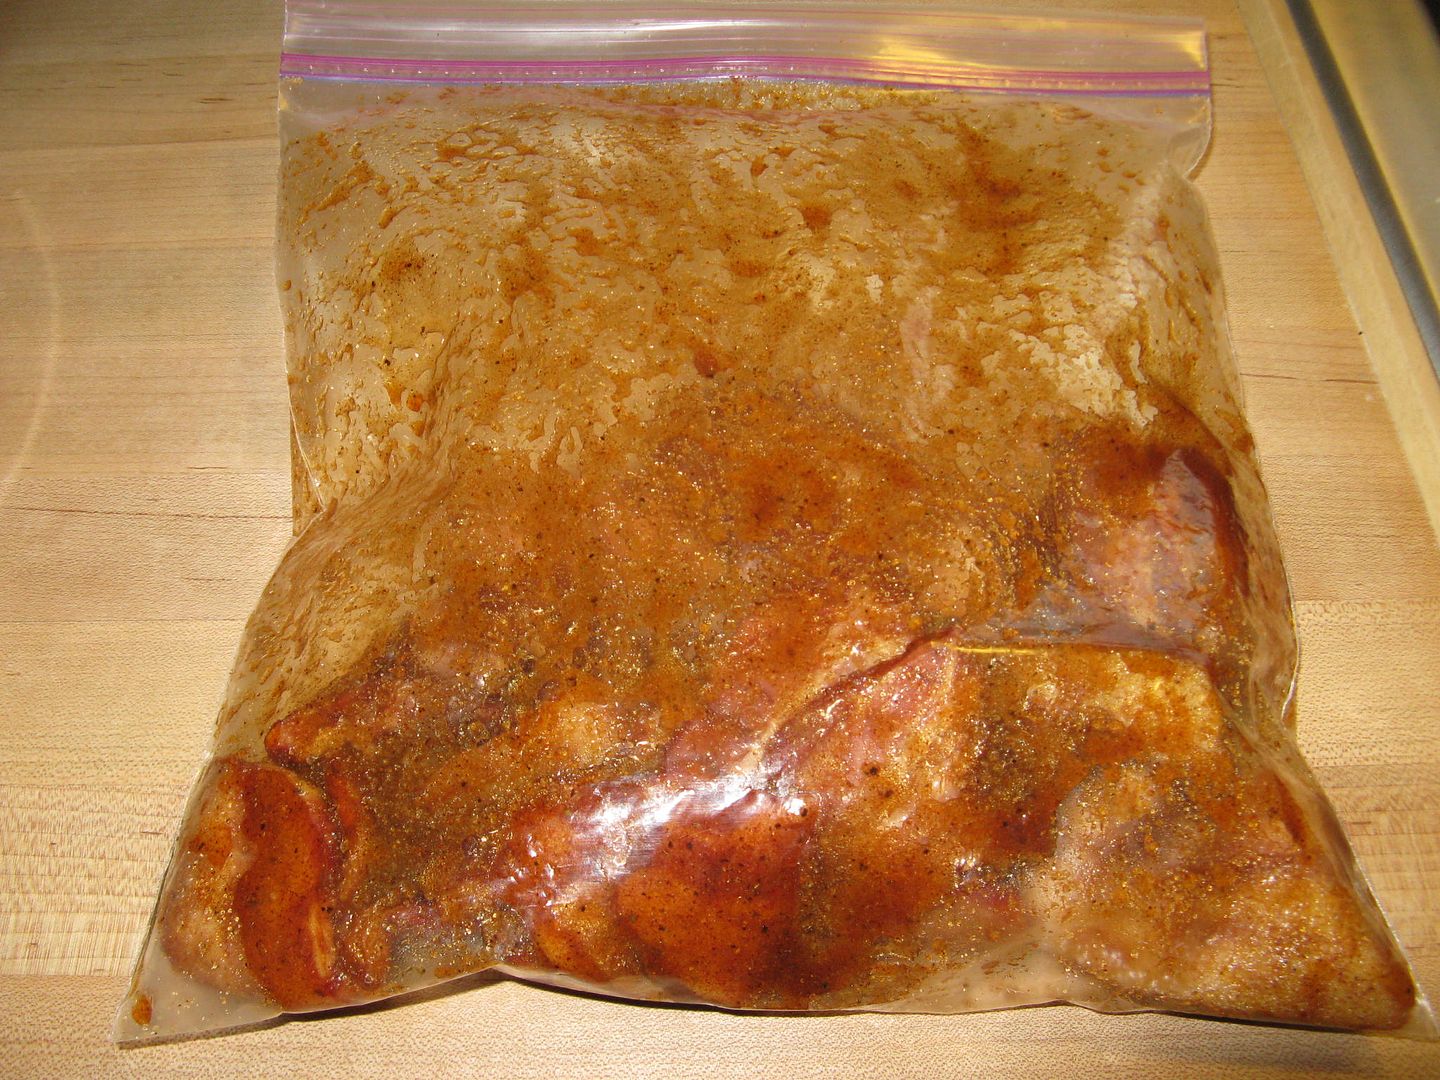
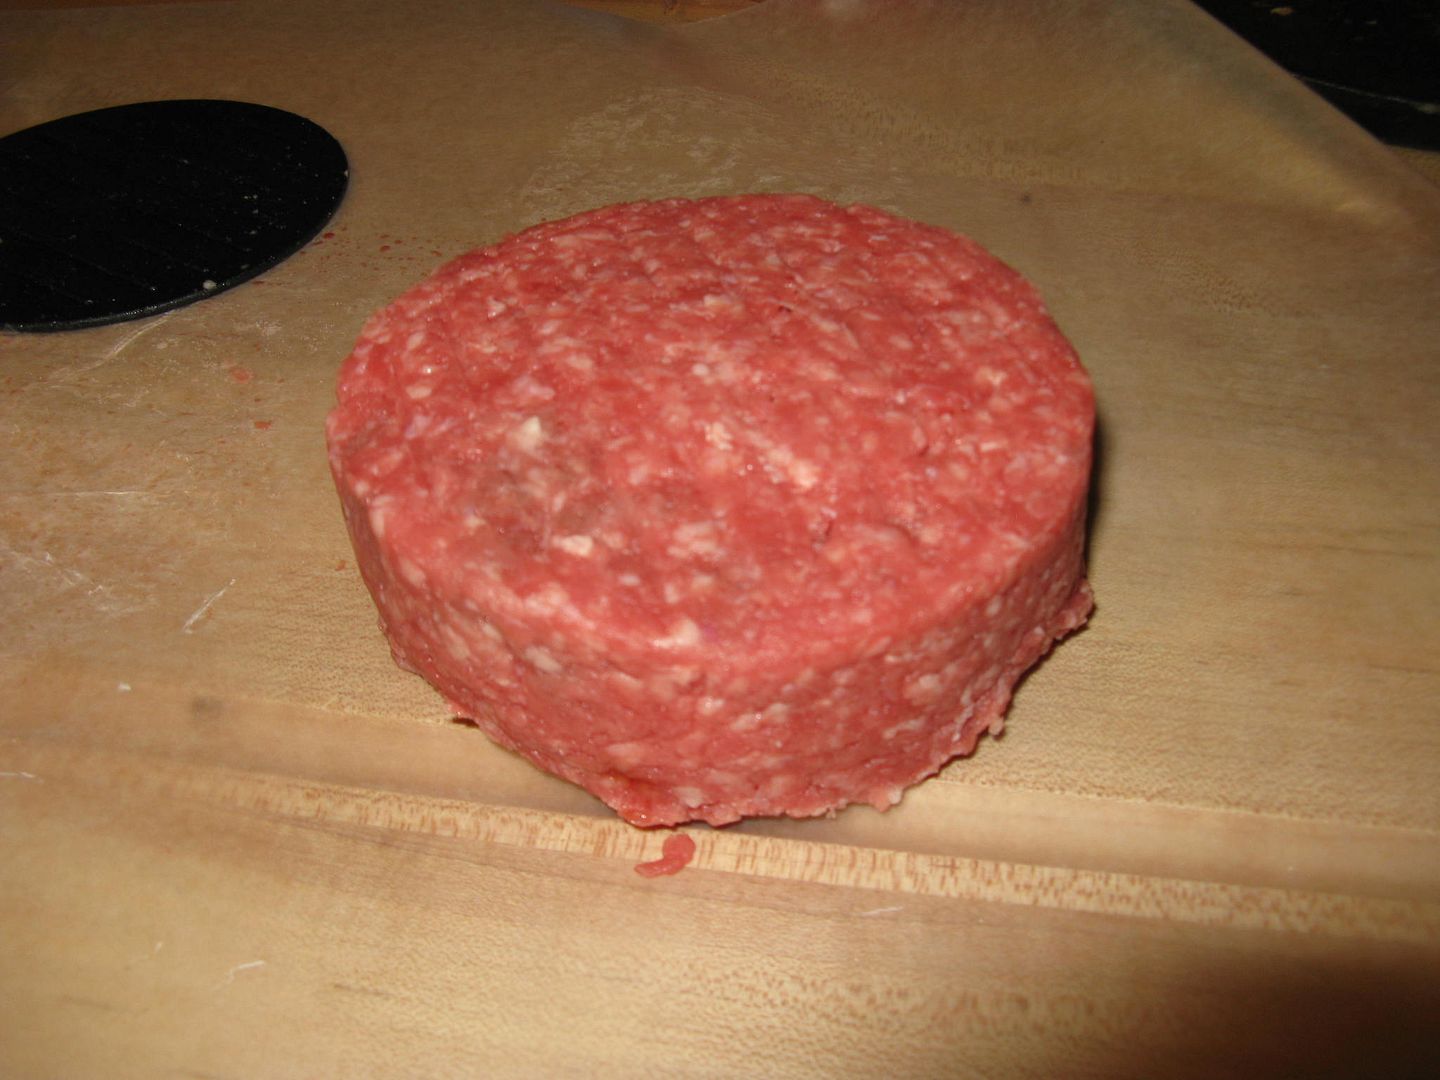
Brisket after sitting for two hours.


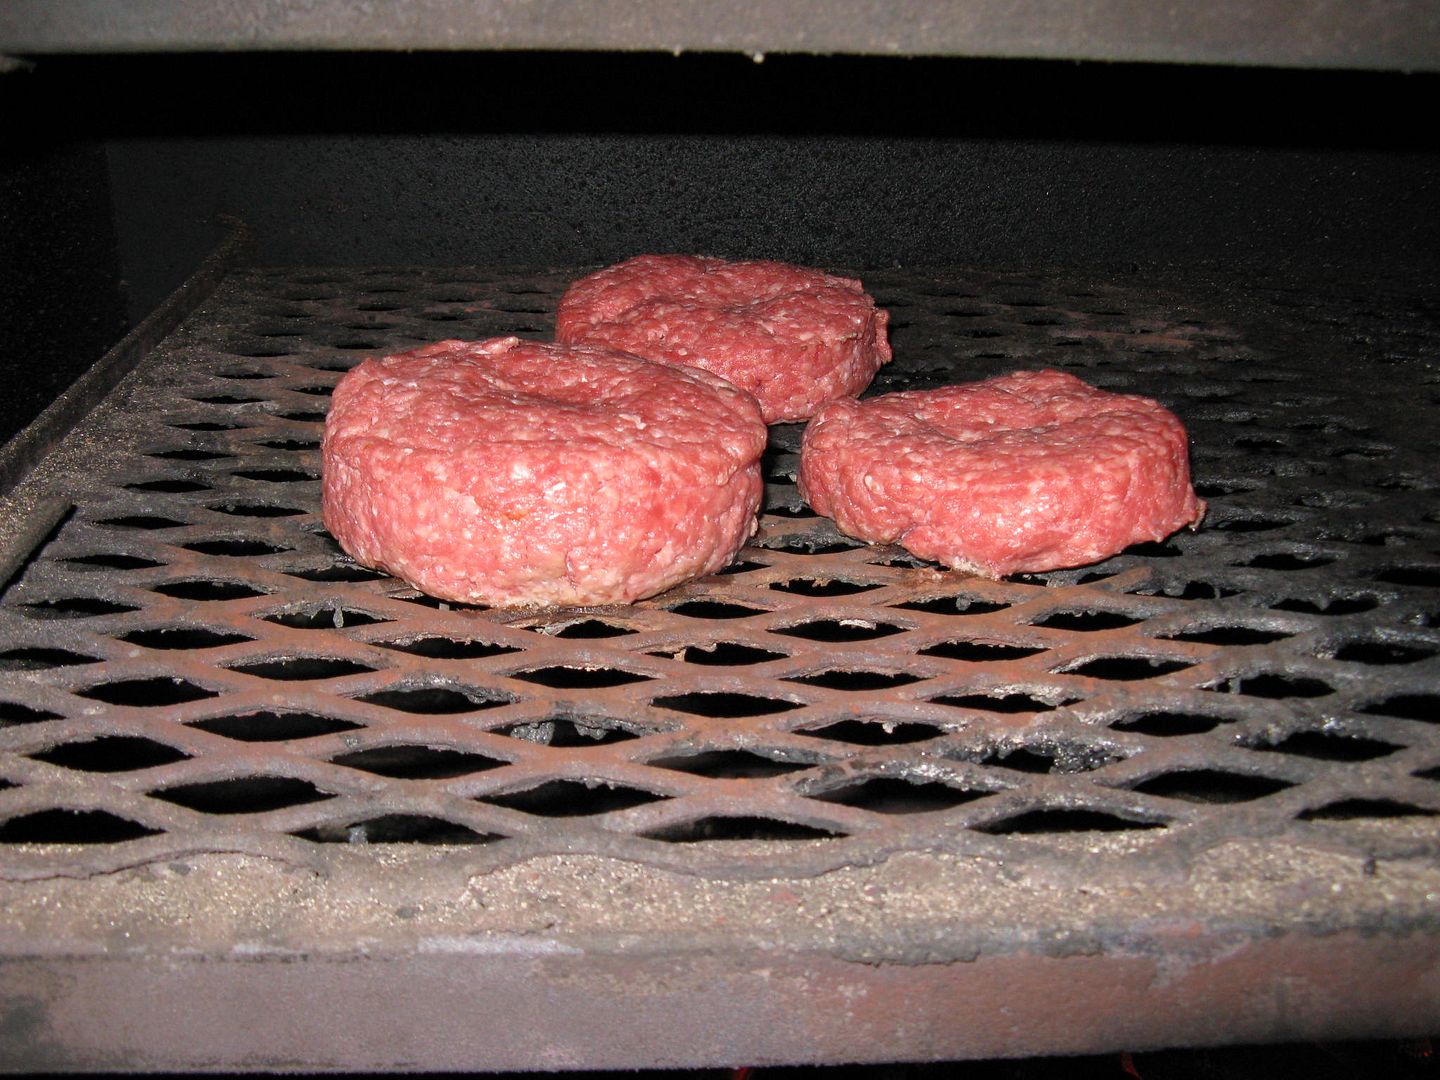
Brought smoker to 350 F and place three pecan splits in the ash pan.  Placed brisket on top rack at 1:55 pm.

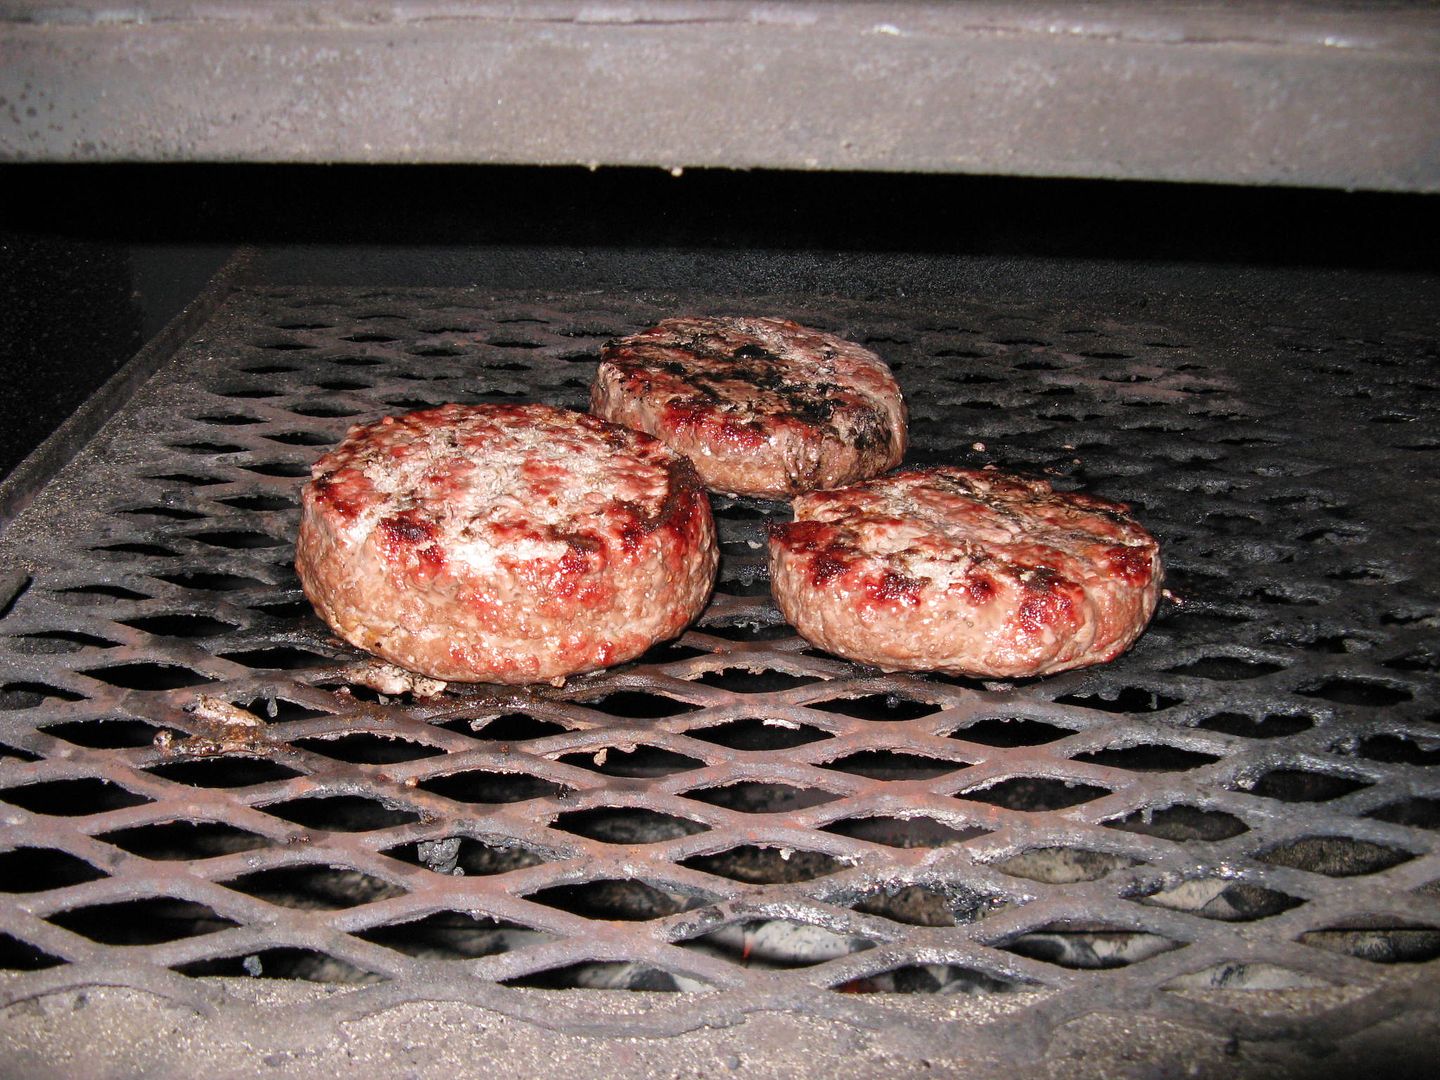
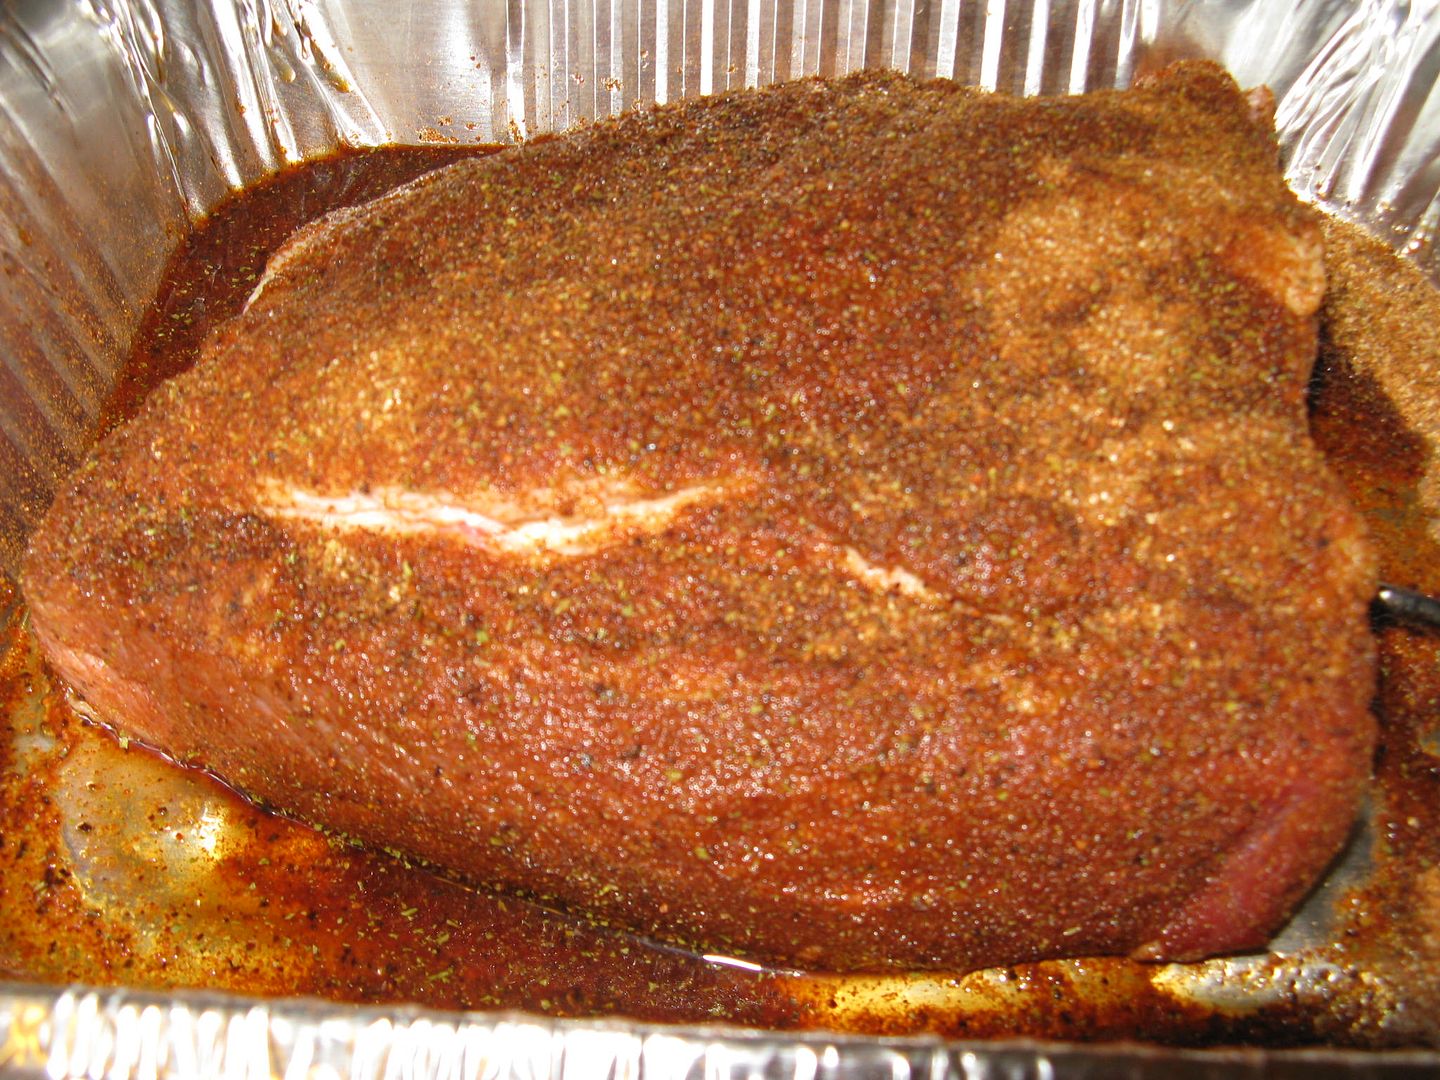
At 3:45 pm, internal temperature was 175 F.  Placed in pan with leftover injection and foiled.

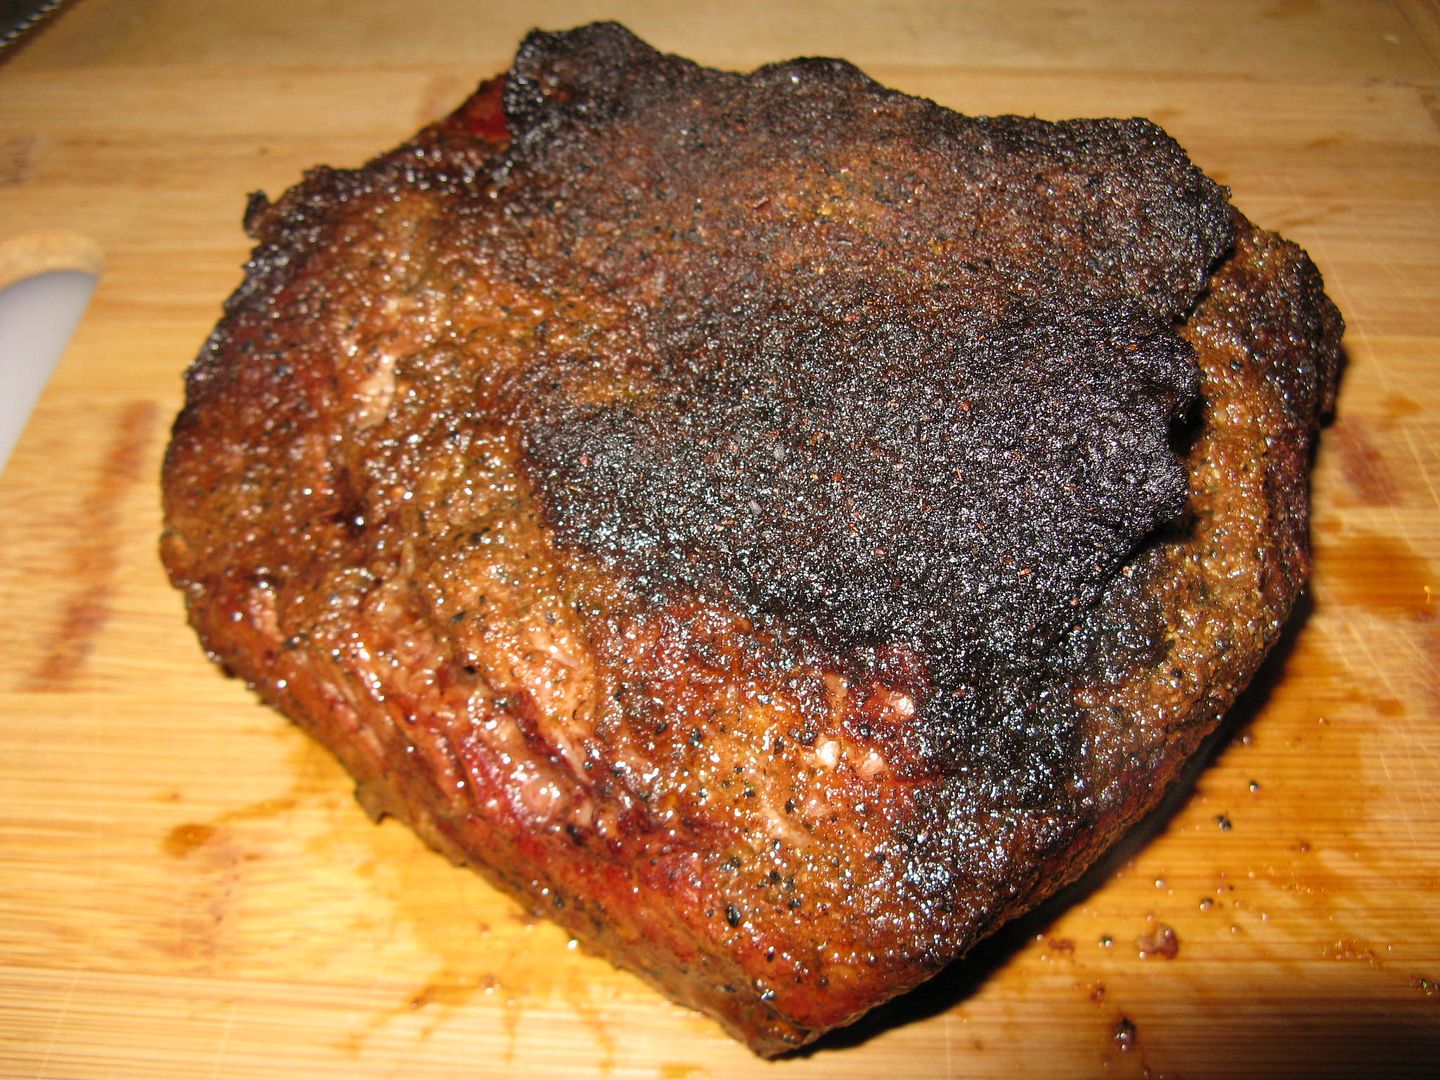
Brisket before placing in foil pan.


At 4:15 pm, the internal temperature was 195 F.  Probed the meat every 15 minutes until the probe was sliding into the meat with little or no resistance.  Brisket was ultimately pulled at 4:45 pm.  Wrapped pan in towels and placed in a cooler to rest for one hour.

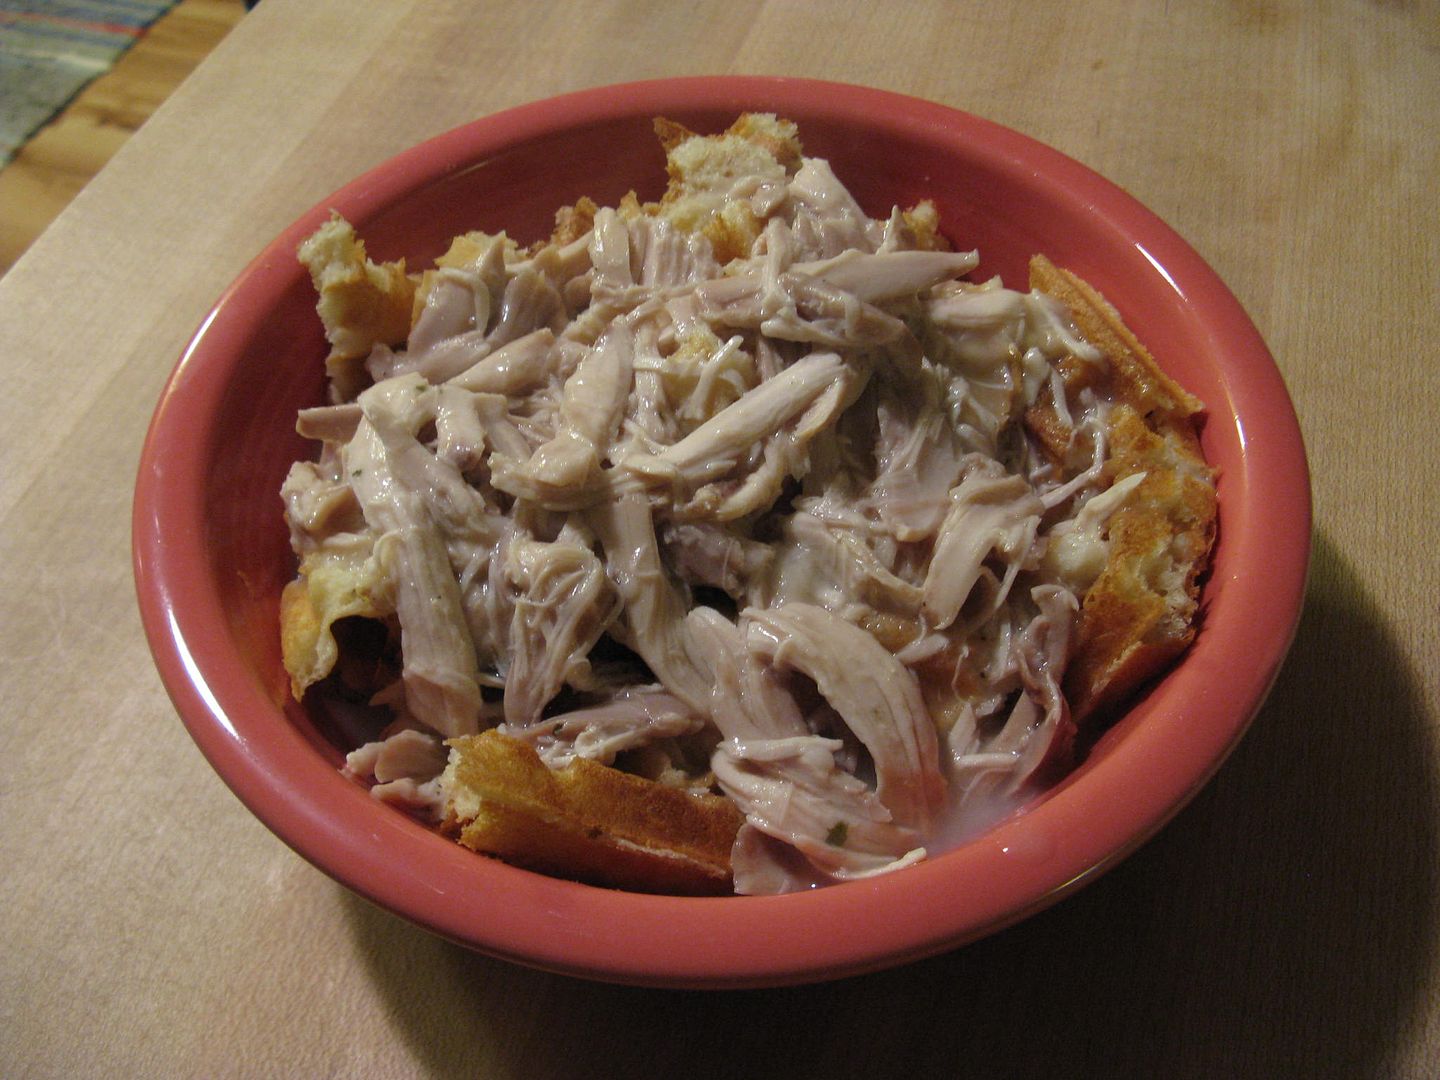
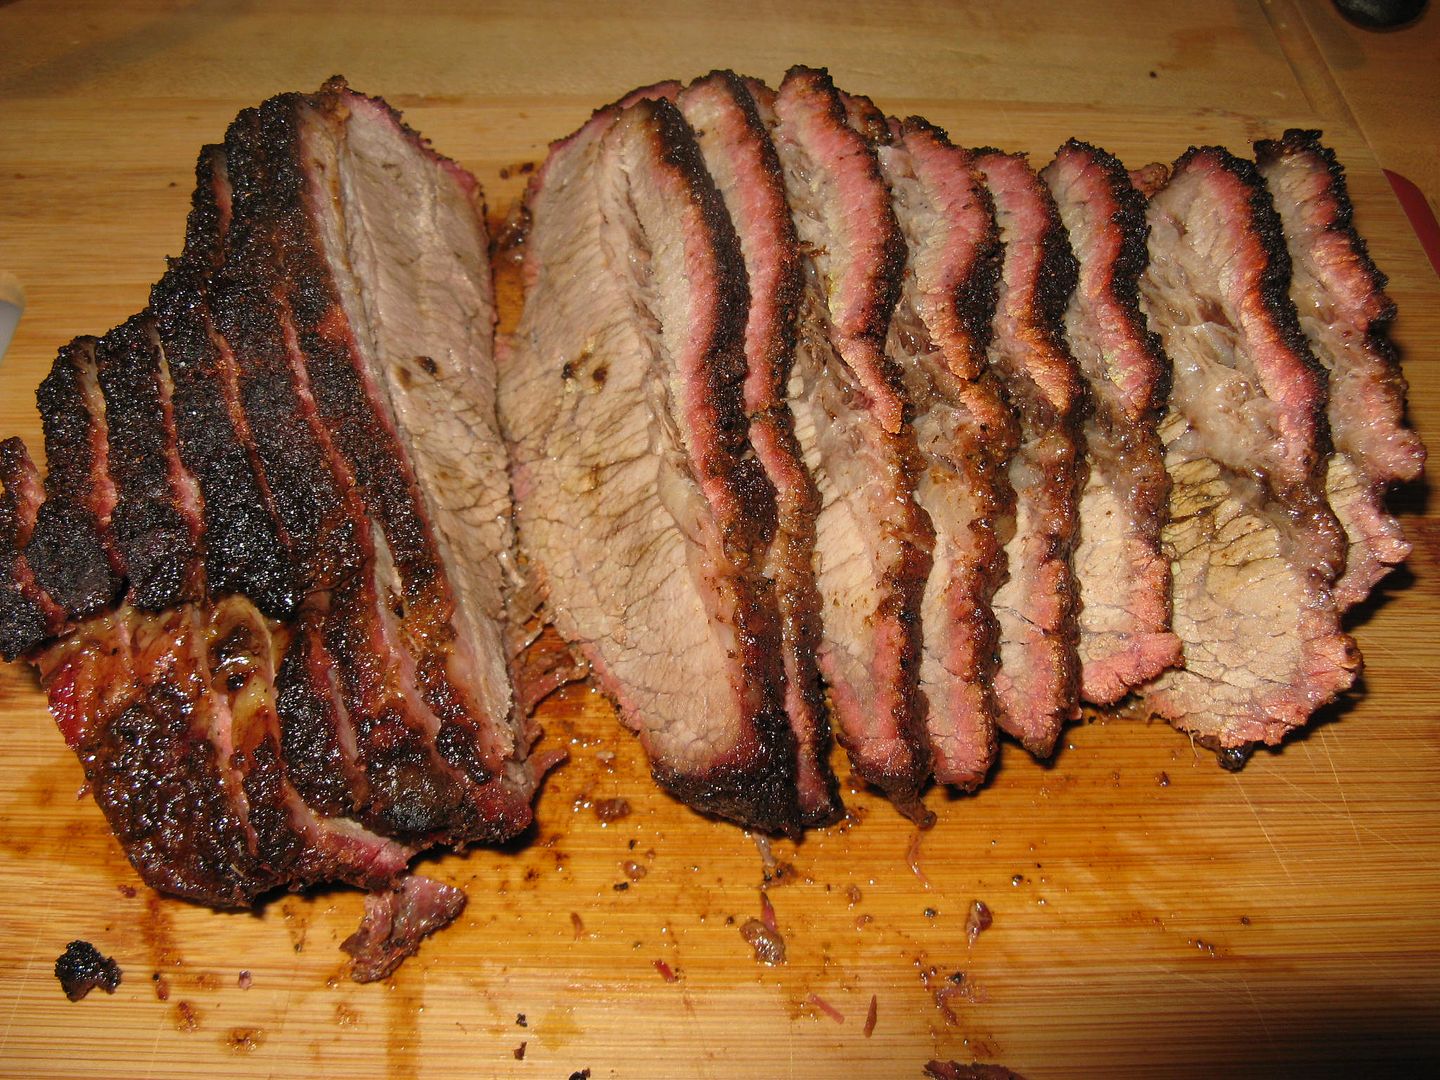
After resting, pulled brisket from pan and sliced.


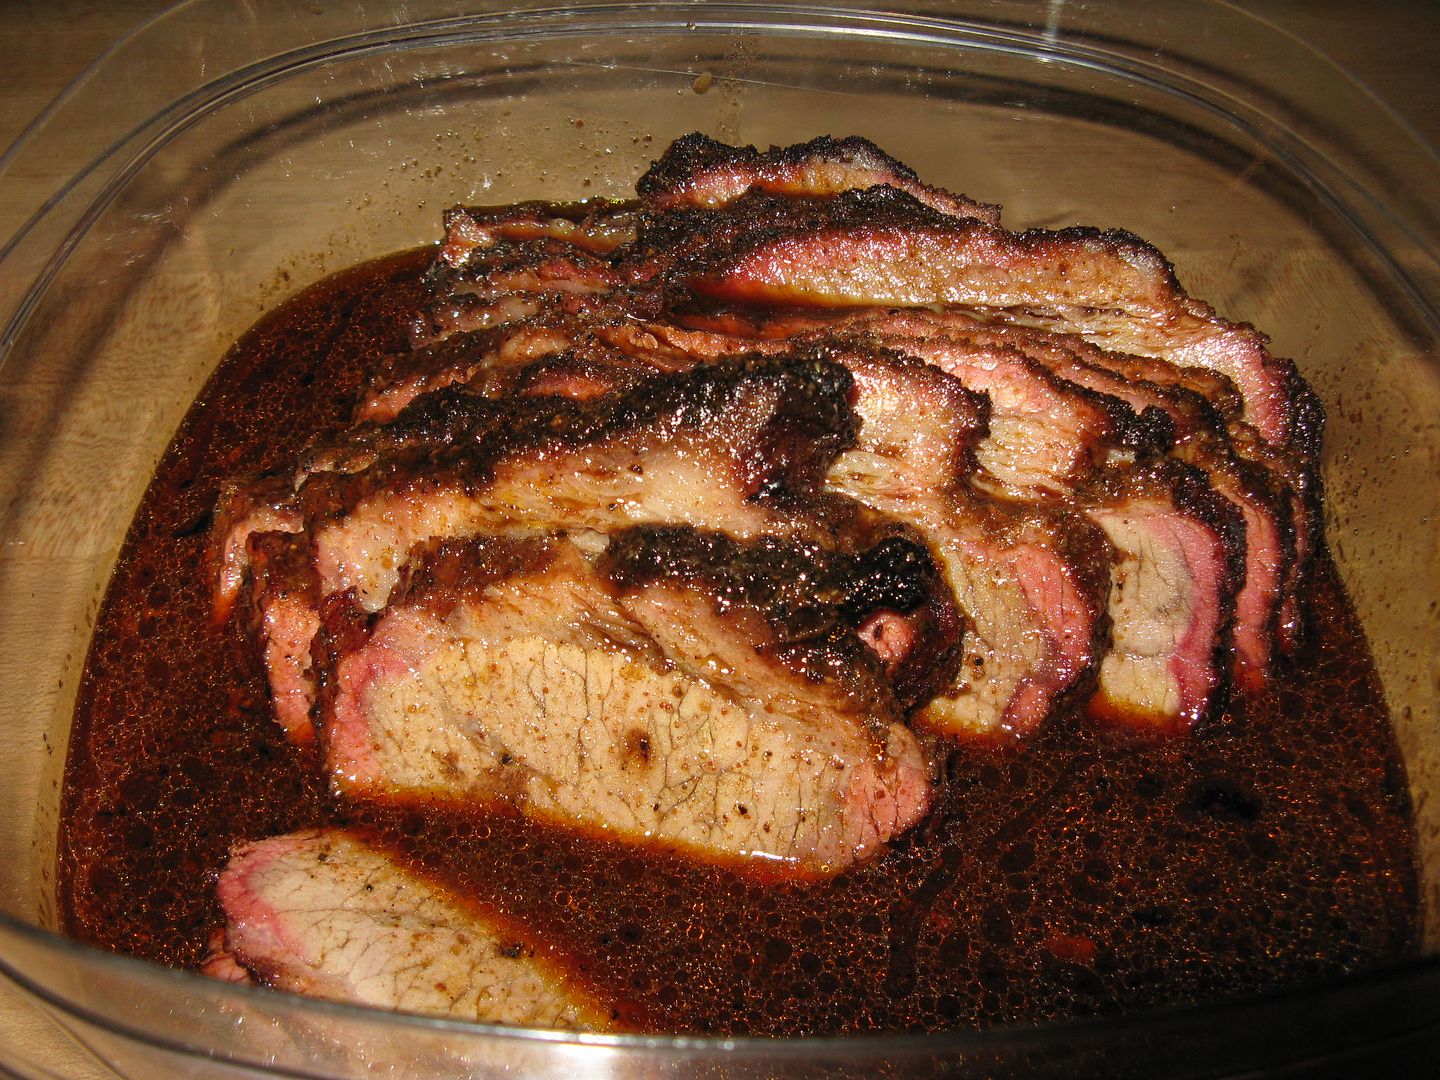
I placed my slices in the au jus to take to work for reheating.


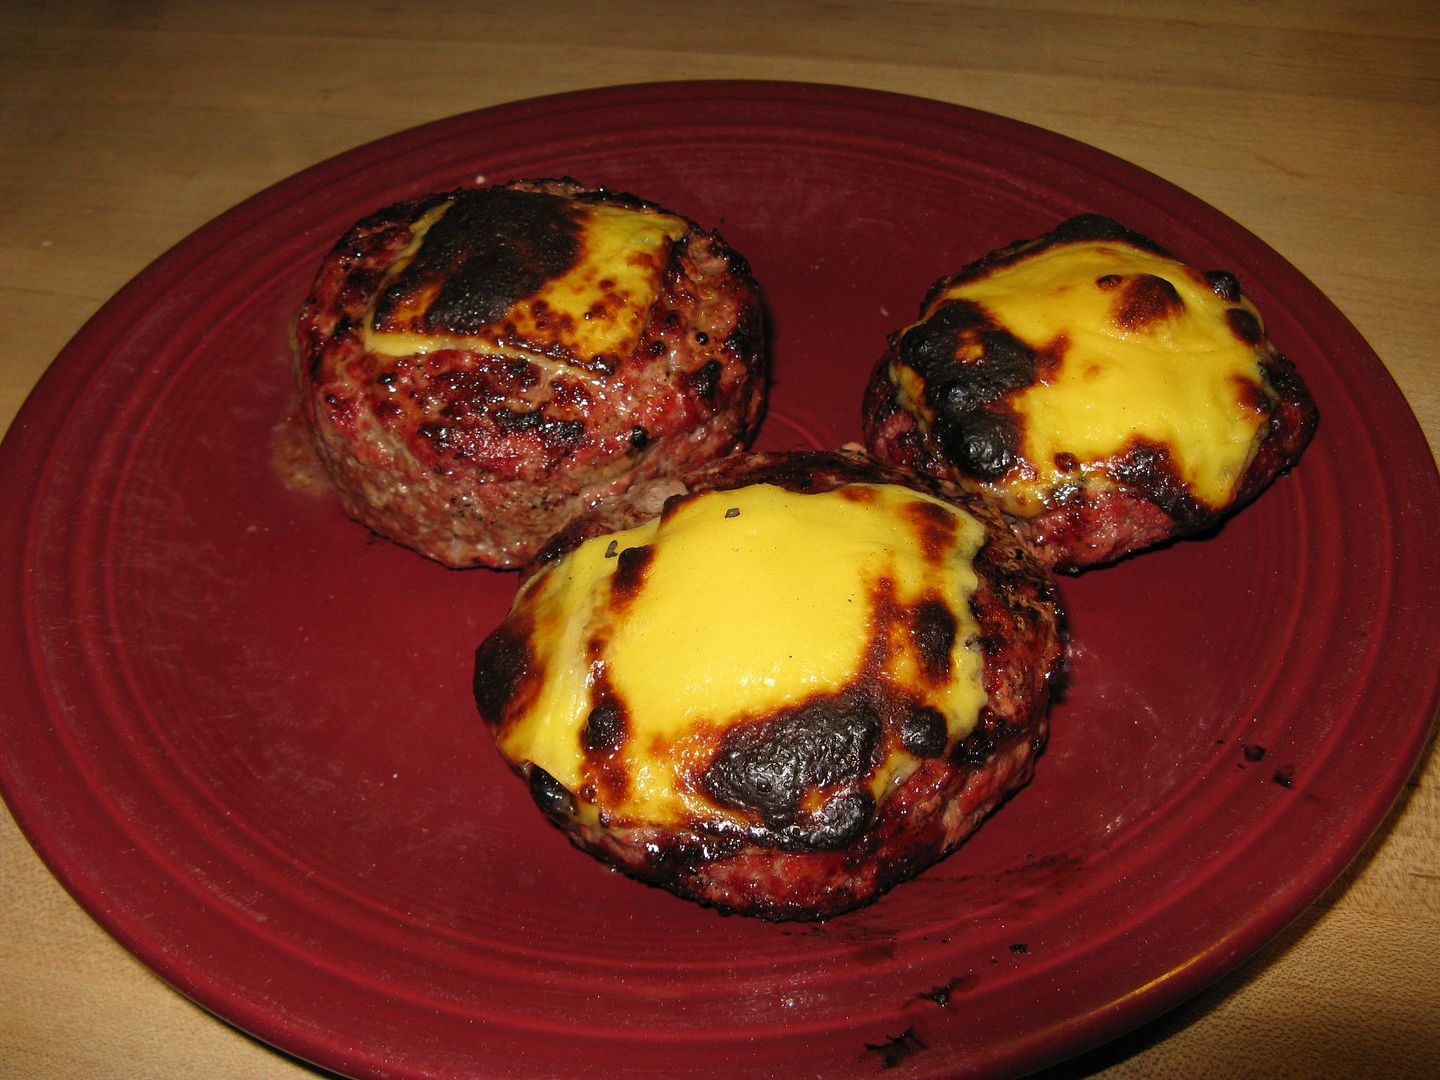
The reviews for this brisket are good.  Nice bark and good flavor.  It was surprisingly tender.  This methods has possibilities.  Next up, the Low and Slow method.

Thanks for stopping by,

Bill

Sunday, February 23, 2014

Wings: PB&J Style

Whenever I go to New Jersey for work, I always go to the Black River Barn in Randolph for dinner.  They use real smokers, have wood fired pizza ovens, and a great beer selection.  Their Pulled Pork Nachos are to die for.  But, this time around, a new wing flavor caught my eye.  I give you the PB&J chicken wing.


The wing was cooked perfectly.  Crispy and crunchy as always.  But, the sauce was lacking a bit. Overall, not bad.  While it had the PB, the J was lacking.  The peanut flavor was nice and savory.  But, there wasn't enough jelly to determine the flavor used.  The sauce needed just a bit more sweet to balance out the savory.  I do believe this concept has possibilities.  I think I am going to give this a try at home.  What flavor jelly would you use?  I am thinking a nice hot pepper jam, but would be open to suggestions.  Does anyone have a suggestion or two?

Thanks for stopping by,

Bill

Tuesday, February 18, 2014

Restaurant Review: Franktuary - Pittsburgh, PA (Lawrenceville Location)

Over the last couple of years, the restaurant scene in Pittsburgh has evolved into something I never expected to see.  There are many options, ranging from high end bistros to your garden variety food truck.  This is most evident in the Lawrenceville section of Pittsburgh where there has been a revitalization project that has transformed the community.  The main drag, Butler St. is paved with cafes and numerous dining options.  Hope and I have decided to sample some of these new eateries this past weekend.  Our plan for the weekend was a trip to Franktury for a late lunch, then an evening of binge watching season two of House of Cards to cap off the day.

Franktuary has three locations listed: Downtown, Lawrenceville, and a mobile location that operates during the warm weather months.  The menu has a nice selection of beers and mixed drinks to start and a variety of gourmet hot dogs to sample.


The inside is nice.  Not too loud and family oriented, at least during the 4:00 pm hour.  The bar and restaurant have a nice combination of brick and wood.  The wait staff was friendly and knowledgeable.  Off to a good start for sure.


As you scan the menu, you have a choice of New York beef hot dogs and New Zealand grass fed beef, as well as fish and veggie options.  You get to choose your bun: potato, whole wheat, millet, and romaine lettuce for the Paleo crowd.  You can choose from different condiments and toppings, as well as different house combinations.  To top it off, they offer soups and chili, appetizers, and fries.  In addition to your plain ketchup dunking french fry, they offer various varieties of Poutine.  Poutine is a French Canadian offering of fries covered with cheese curd and gravy.  More on Poutine here.

After scanning the menu, we placed our order with our friendly and very helpful waiter.  Hope, being the traditionalist choose a New York dog with ketchup, mustard, onion, and house sauerkraut and a New Zealand grass fed dog with ketchup, mustard, and onion, both on potato buns.  I chose a New York dog with chili, cheese, and onion and a New Zealand grass fed dog Buffalo style, both on a potato roll.  We shared an order of Poutine with cheese curd and brown gravy topping.


When we asked our waiter about the grass fed dog, he said it was different than the normal beef dog.  The taste was different, but good.  He was right.  Hope didn't care for the taste and texture.  I was ok with both.  A good description would be that it tasted almost like knockwurst.  One warning, while the skin was crisp and it was not dry, the grass fed dog was not juicy like you get when biting into a New York kosher beef dog.  The kosher New York dog was spot on and I agree.  The potato buns were steamed to perfection.

As for Hope's comments, the standard ketchup and mustard was of good quality.  But, the house sauerkraut was lacking.  I tried a taste.  It has the kraut, but not the sour pickle aspect you look for in sauerkraut.  It was almost like sautéed cabbage with a hint of pickle taste.  Not bad, but better suited for corned beef.

As for my hot dogs, the chili was good, but a bit under seasoned.  Otherwise, it was a good dog.  The Buffalo style dog was also pretty good.  I was afraid it would come out stuffed with celery sticks.  I was relieved when it came out topped with diced celery.  The Buffalo sauce was mild and not overly spicy.  The bleu cheese dressing was a bit thin, but the taste was there.  My suggestion to improve this hot dog would be either to dunk the dog in the Buffalo sauce and top with a thicker version of bleu cheese dressing, or to mix the sauces together while using a thicker bleu cheese dressing.

The Poutine was heaven.  Crisp fries, cheese curds, and rich brown gravy with hints of sage and rosemary.  A great choice for our first Poutine experience.

Overall, Franktuary was a nice start to our new Pittsburgh culinary adventures.  Friendly waitstaff, cold beer, and good hot dogs can be found here.  Would I drive 40 miles again just to go to Franktuary?  No.  If I was in the neighborhood and wanted a hot dog would I go?  Yes.  Overall grade: B.

Thanks for stopping by,

Bill

Saturday, February 15, 2014

Saucy Legs: A Little Competition Chicken Practice

I have had a few windows of opportunity to get some practice in for the upcoming BBQ season.  Over the holidays, before all of the snow and very bitter cold, I did get a chance to BBQ some chicken legs.

Our process is simple.  Two hour brine, One and a half hours on the smoker, etc...  Here is the detailed process.

First, we tried a new brine.  Usually we make our own brine.  We have done very well over the years with this brine.  Chicken has always been a bright spot in our line up.  But, we are looking to make a little tweak to move up and win.  So, we tried Oakridge Game Changer Brine to see what it would do for our chicken legs.  The ingredient list is simple, just how we like it: Sea salt, raw cane sugar, garlic, black pepper, onion, spices, chilies, blackstrap molasses, maltodextrin.  No fillers, no MSG, no artificial colors, flavors or additives.  Minus the orange juice, it looks  and smells a lot like our brine.  The smell from the brine on the stove was intoxicating.  I could not wait to see how it would change our final product.  The guidelines on the package recommend two to three hours of brining time.  So, once cooled, we let our legs sit in the brine for three hours.


After three hours in the brine, I rinsed with cold water, patted them dry, then rubbed liberally with a mix of Butchers Honey Rub and Oakridge Secret Weapon Pork and Chicken rub.  The Butchers adds a nice sweet component and the Oakridge adds a little spice.


Then, I placed on the smoker at 275 F with a few chunks of pecan in the ash pan.  While the legs were cooking, I mixed up a batch of our sauce.


After 30 minutes of cook time, the legs get dunked in the sauce and placed in a pan skin side down.  On top of each leg we place a pat of butter.  The butter helps to get that nice bite through skin that the judges like.


After 30 minutes in the pan, we dunk the legs one more time in the sauce, add a bit more rub, then place them back on the smoker for 30 more minutes.  We also ramp our temperature up to 325 F for the last 30 minutes of cook time.  This helps to set the sauce and crisp up the skin.


So, at 275 F that is 30 minutes skin side up, 30 minutes skin side down in a pan after a dunk in sauce with a bit of butter, then a final dunk in sauce with a rub touch up and 30 minutes at 325 F skin side up.


At this point, I would give you a review of the Oakridge brine.  But to be fair, I was getting over a head cold and my sense of taste was not very good.  So, I will save my review for the next time we try this brine.  But, I can tell you that Hope polished off a whole chicken leg.  Why is this a great feat?  She does not like dark meat.  But, she kept on eating because she loved the flavor.  Hope says it was the best chicken leg we have ever made.  So, perhaps things are looking up for a top five chicken entry this year.

Thanks for stopping by,

Bill

Tuesday, February 11, 2014

I Surrender...


I've had it with the snow and cold.  Sure, it is beautiful outside after a fresh snow...


But, I am tired of shoveling and it is going to be -6 F tonight.  I know it might be worse in other places, but I can complain, can't I?


I am even running out of places to put the snow.  My Quad only pushes it so far.  I can't even get into the BBQ trailer if I need anything.


Smoker and grill?  Seven inches of snow, frozen solid in the way.


Six more weeks of this stuff?  Am I whining?  Yes I am.  Maybe even a rant.  But, I am ready to mow some grass.

Thanks for listening,

Bill

Saturday, February 8, 2014

Pig Candy

You have seen it before.  You have the smoker fired up and friends over.  But, good BBQ takes time and your guests, no matter how hard they try, cannot live on beer alone.  What is a host to do to keep the hungry masses at bay?  I give you Pig Candy.

Pig Candy is the pitmasters term for candied bacon.  It is easy to make and loved by all.

So, what do you need?

Bacon
Brown Sugar
BBQ Rub

As for choosing your bacon, a thick cut is better.  It increases the meat to sweet ratio, is easier to handle, and doesn't fall apart during the kneading stage (more on that later).  We buy our bacon from our butcher, Dave's Country Meats.  the bacon is leaner than most, not too salty, not too sweet, and kissed lightly with hickory smoke.  This bacon has a nice thicker slice, between 1/8 and 1/4 of an inch.


I took about a 1/2-3/4 of a pound of this beautiful pork product and placed into a plastic bag with 1/2 cup of brown sugar mixed with three tablespoons of Oakridge Beef and Pork rub.  I like this rub because it has a bit of a kick, but you can use whatever you have on hand.  Pig candy is actually a good way to get rid of that last little bit of rub in the jar.

At this point, I seal the bag with a lot of air inside.  Then, I shake it up to distribute the sugar and rub mix evenly across the bacon.  Then, I just put it on the counter and walk away for about 45 minutes.


After 45 minutes, the sugar and rub mix has started to pull the moisture from the meat, creating a gooey mess.  This is when you let the air out of the bag, seal tight, and start to knead.  You have to knead the bacon for about 10 minutes to ensure that the sugar rub mix is evenly coating the bacon.


Then, head out to the smoker and spread your bacon out on a rack to cook.  Cook times vary with the temperature that you are smoking at and the thickness of the bacon.  I was smoking at 225 F.  So this batch took about 1 hour.  At 250 F, it takes about 45 minutes and about 30 minutes at 300 F.

Pull the bacon from the smoker, put on a plate, and get out of the way before you get trampled in the stampede.


I have seen certified health nuts polish off half of a plate once they get a bite.  Slightly crisp bacon, sweet and savory, what is not to like.  Don't have a smoker?  Don't worry.  You can make this in your oven on a parchment paper lined cookie sheet.  You don't even need the parchment paper.  But, you will have the scrape the melted sugar off of the sheet at the end.  Maybe that is not so bad.

Thanks for stopping by,

Bill

Monday, February 3, 2014

Stuffed Hamburgers


It was a tropical heat wave around here over the weekend.  50 was the high on Saturday.  A 60 degree swing from a few highs the week before.  I felt much like Mr. Dusfesne in the picture above.  Time to grab some burger meat and head to the grill.  

A year or so ago, as I was cruising through the grill section at a Big Box hardware store, my eye was drawn to a display of Master Forge Hamburger Presses.


$3.99 on clearance = impulse buy.  Some people buy the National Inquirer at checkout.  My weakness is BBQ and grilling gadgets.  I have made many a perfect patty with this gadget.  But, I have never used it for its intended use, making a stuffed burger.  I like the design.  But, you do have to do a little thinking to get it to work.  But, I pulled through in the end.  It breaks down easy, is dishwasher safe, and cleans up nicely.  If you see them on sale, go to the light and pay your $3.99.

Hope wanted a traditional burger.  So, I was alone in my experimentation.  I opted for caramelized onion, American cheese, and BBQ sauce.  I started by caramelizing some sweet onion in a small amount of olive oil with a grinding of sea salt and pepper.  


While this was cooking down, I started by pressing 1/4 cup of hamburger meat rolled into a ball into a patty.  I removed the patty and set aside as the top for my stuffed burger.  Then, I placed 1/3 cup of hamburger meat rolled into a ball into the base and pressed using the red top so that a cavity was made in the patty.  


Then, it was time to stuff.  I started with one slice of American cheese.


Then, I added some Sweet Baby Ray's to my caramelized onion and layered on top of the cheese.


Then, I placed my other patty on top of the cavity, covered with the flat black disk that can be used for flattening, and pressed down firmly.  Amazingly, the burger sealed and only required a minimum of sculpting when removed from the press.


The stuffed burger is on the top in this picture.


Notice the dimples in the tops of the patties?  I never knew that putting a dimple in the top will keep the burger from swelling up like a beach ball when being grilled.  This tip I learned from Gus over at Gusface Grillah.  More on Gus's site later.  But, he has some great posts on the art of grilling Down Under.  You should visit.  

So, the grill was at temp.  I added the patties and waited with anticipation.


I flipped after five minutes.  The stuffed burger is on the left.  Amazingly, no oozing of the cheese from the inside. Success so far!


I cooked five more minutes, then flipped back over to put cheese on Hope's burger and a left over piece on mine.


I closed the lid and let the cheese melt.  Then, removed from the grill.  


I know what you are thinking.  You burnt the cheese.  Well, maybe, but we like our cheese on the brown and bubbly side.  Also, while five minutes a side for a burger seems a bit much for medium, but the press does make a thick burger a requires a longer grill time.  

I didn't have any hamburger dill chips, so I topped mine with a dollop of dill relish and cut in half.


The results were excellent.  No leakage of cheese!  The interior was gooey and added a great flavor to the burger.  I wish I had remembered to add some bacon.  Next time maybe.  

There is a world of possibilities using this burger press.  Next time, I am thinking a Greek style burger made with ground lamb and stuffed with olive, spinach, and feta cheese.  Stay tuned.

Thanks for stopping by,

Bill

Saturday, February 1, 2014

Classic Cold Weather Meal: Chicken and Waffles

Last year when a certain snack company came out with different flavors for potato chips, I could not restrain my glee when they offered a Chicken and Waffle chip.  I hurried down to the store and bought a bag and ran back home to share with Hope.  I was so disappointed when it turned out to be a sweet offering and not savory.  To us, chicken and waffles is a savory gravy event.  Last weekend during the big chill, we made a batch of Chicken and Waffles to keep the frosty temperatures at bay.

First, I poached a small fryer and froze half of the broth for use later.  The other half of the broth I reserved for my gravy.  Hope removed the chicken from the bone and shredded for incorporation into the gravy.

I heated the broth, about 3 quarts, seasoned with salt and pepper to taste, and brought to a light boil.  Then, I added a mix of 2/3 cup of flour and enough milk to make it flowable.  I slowly poured into the simmering broth while whisking.  Then, I simmered the gravy until thick, whisking every 15 minutes or so.


While this was going on, Hope whipped up the waffles.


I don't have the exact recipe that she used.  I believe it was the Buttermilk Waffle recipe from Fanny Farmer.  I have used this recipe many times with good results.  I just leave out the sugar for a savory waffle.

Basically, you mix your dry ingredients, then add to your wet ingredients, finally finishing the batter by folding in some egg whites whipped until stiff.


Into the waffle iron we go.


A perfect, crispy, savory buttermilk waffle.


While the waffles were cooking, I added the shredded chicken to the gravy and let it warm up at a simmer for about 10 minutes.


I serve mine in a bowl with peas on the bottom, then I place a pulled apart waffle on top of the peas.  Finally, I ladle the chicken and gravy on top.


Savory, rich, and most importantly, it sticks to your ribs on a cold night.

Thanks for stopping by,

Bill